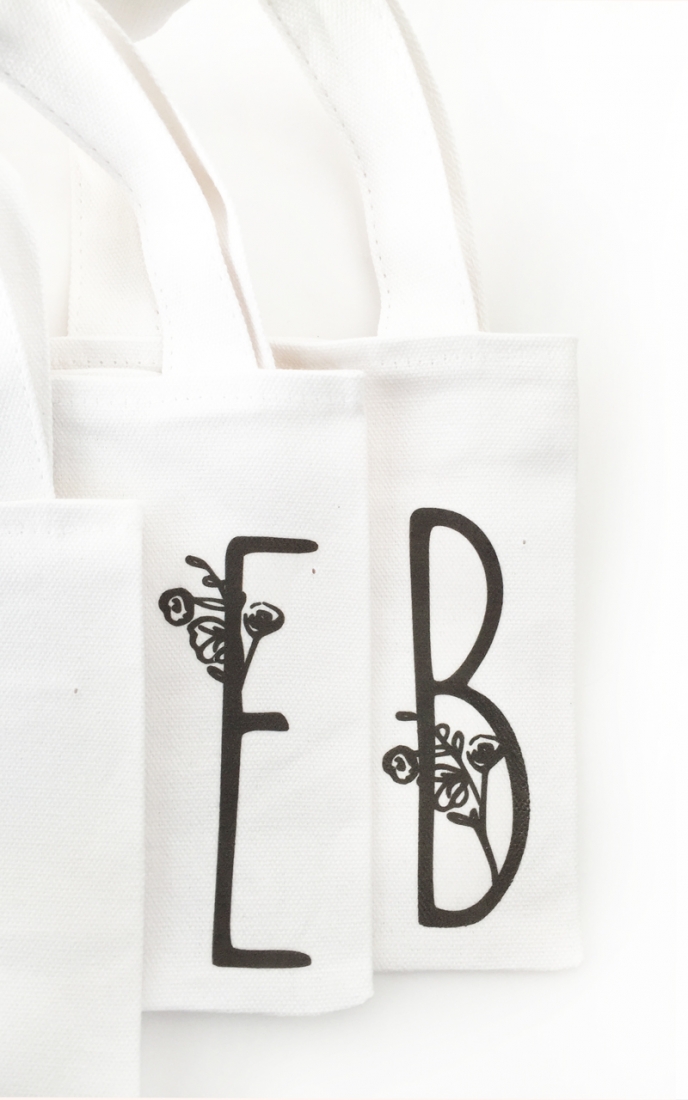
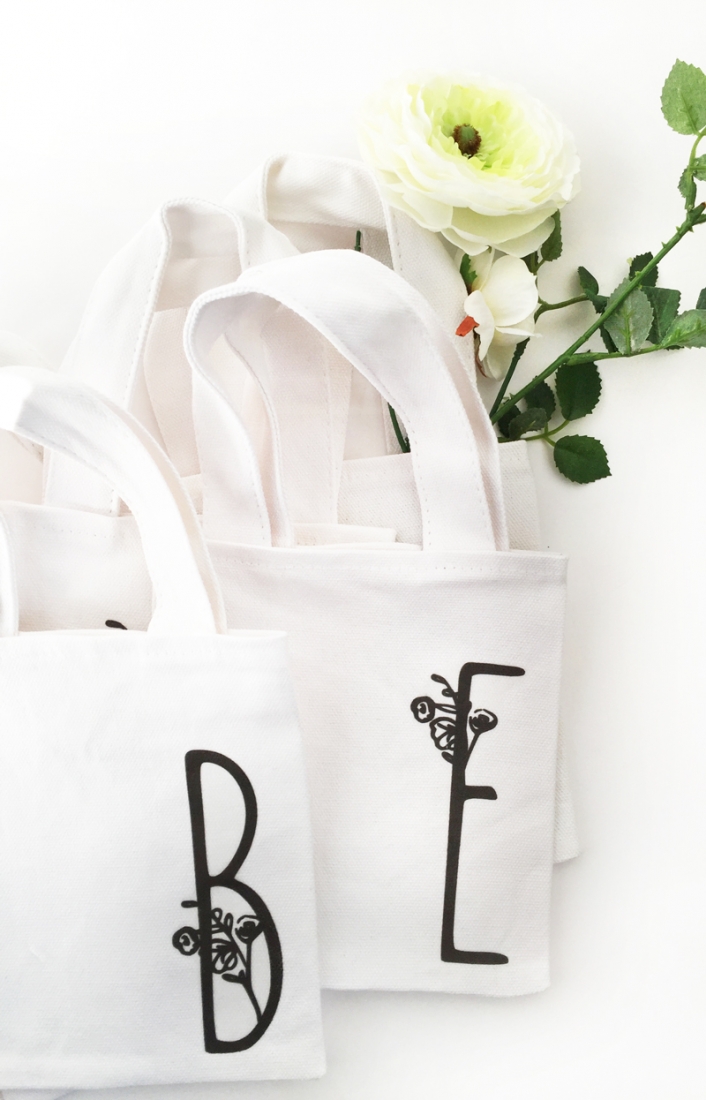
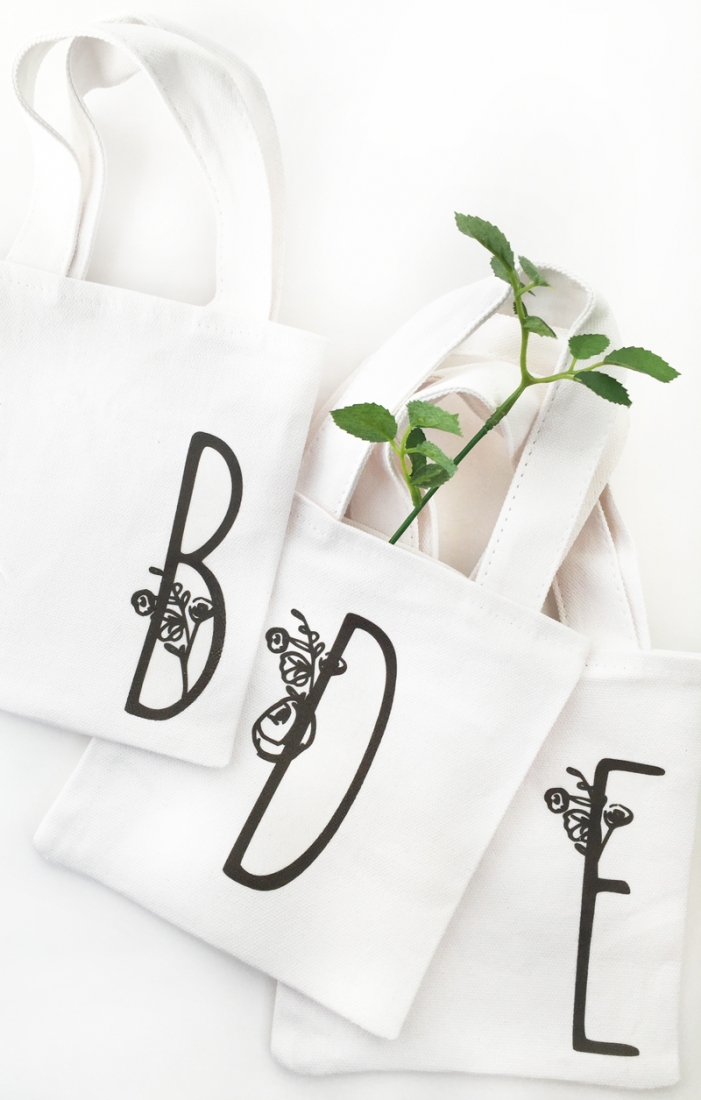
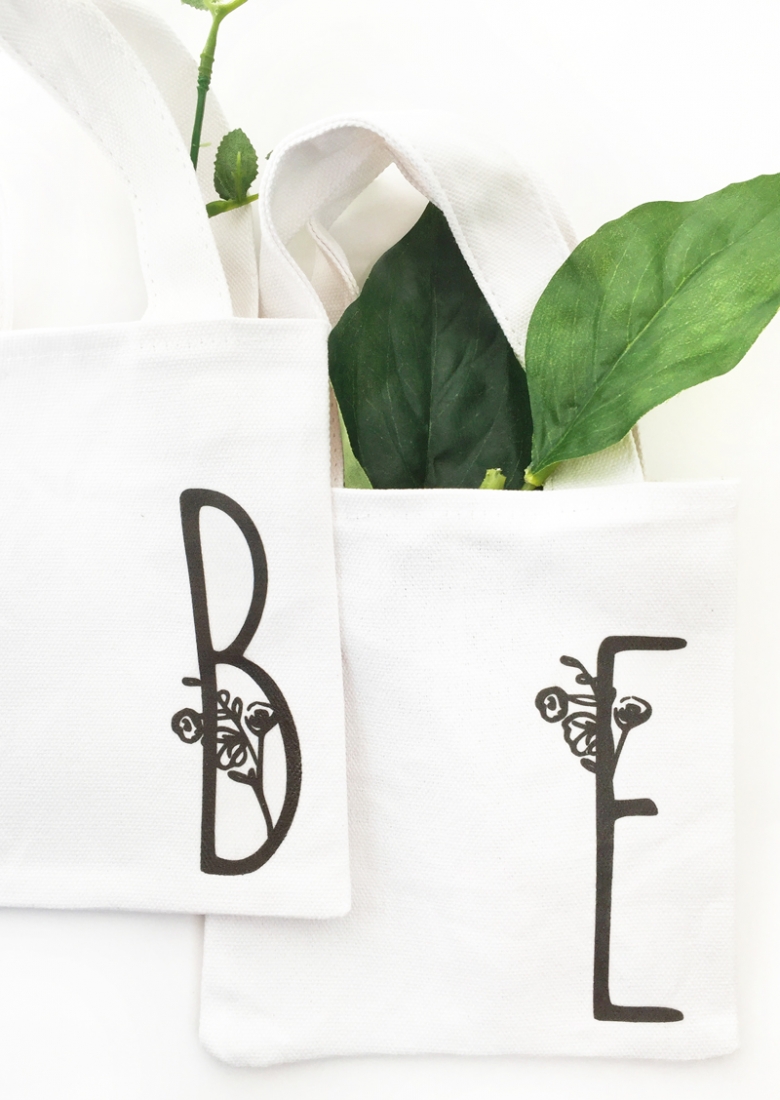
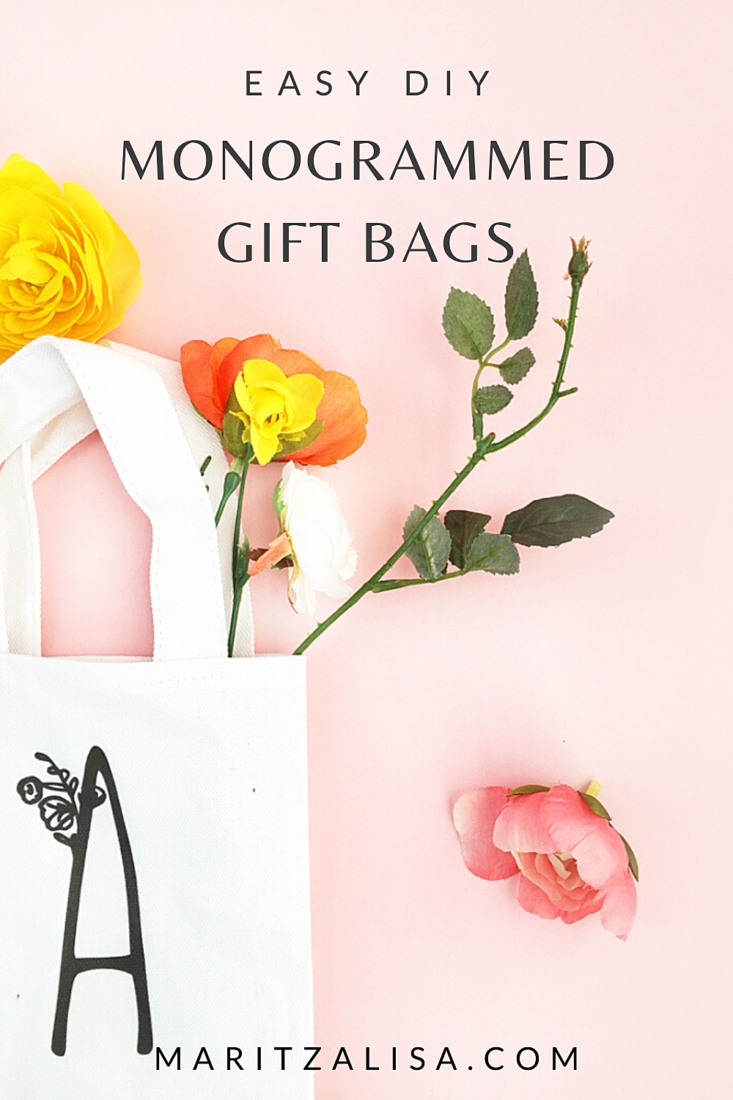
 I obviously have pretty letters on the brain. I bought these cute mini totes at Michaels the other day and stashed them away just for this type of project. These DIY mini monogrammed tote bags are perfect for this time of year. As you visit your friends and family over the holidays, wouldn’t this little tote filled with flowers (or any fun gift) be a cute hostess gift? Your hostess will feel so special knowing you made this especially for her. I know I would. You really don’t have to go too crazy on the letters. I keep going back to these free laurels and flowers from Angie Makes. I love that they are black and white and in .png format (the white space in each image is transparent). You can download them and create your monograms in any graphic software. Since I already had Silhouette Studio (and there is a free version), I used it for this project. Want to make your own?
*This post contains affiliate links for products that I use and love!
About Silhouette Studio
For this project, I just uses the Silhouette Studio software, so I thought I’d share these FAQs as a quick review, which will hopefully answer any questions you may have before downloading and using it to make your own DIY Monogrammed Gift Bags to Totes.
What Is Silhouette Studio?
The The Silhouette Studio software is helps you design and create projects that you can send to your Silhouette Cutting Machine. However, you do not need to have a machine to download the software.
Where Can I Download Silhouette Studio?
You can download Silhouette Studio over at silhouetteamerica.com/software
Is There A Free Version of Silhouette Studio?
Yes. The Basic Edition is the free version of the software you can download and use for making, editing and printing your own designs and ones from the Silhouette Design Store
Why Is My Design's Printout Blank?
If you are cutting your designs by hand, you should set the line thickness of the area you want to cut to anything greater than 0. This will allow you to see your design when it is printed
What You Need: DIY Mini Monogrammed Tote Bags
- Silhouette Studio
- Mini totes (I got mine at Michaels)
- Printer
- Iron
- Light Fabric Transfers for Inkjet Printers
- Favorite font – I used Sunn which is free! Yay!
- Free flowers and laurels (be sure to read the terms of use for your free downloads)
- Scrap fabric or pillowcase
- Waist high smooth surface (it is recommended that you do not use an ironing board). Full disclosure – I did not have another smooth surface to use, so I used my own ironing board.
Instructions: DIY Mini Monogrammed Tote Bags
Step 1: Design Your Floral Monogram
- In Silhouette Studio (or your graphic software), open your images
- Use the text tool and select your font for the monograms
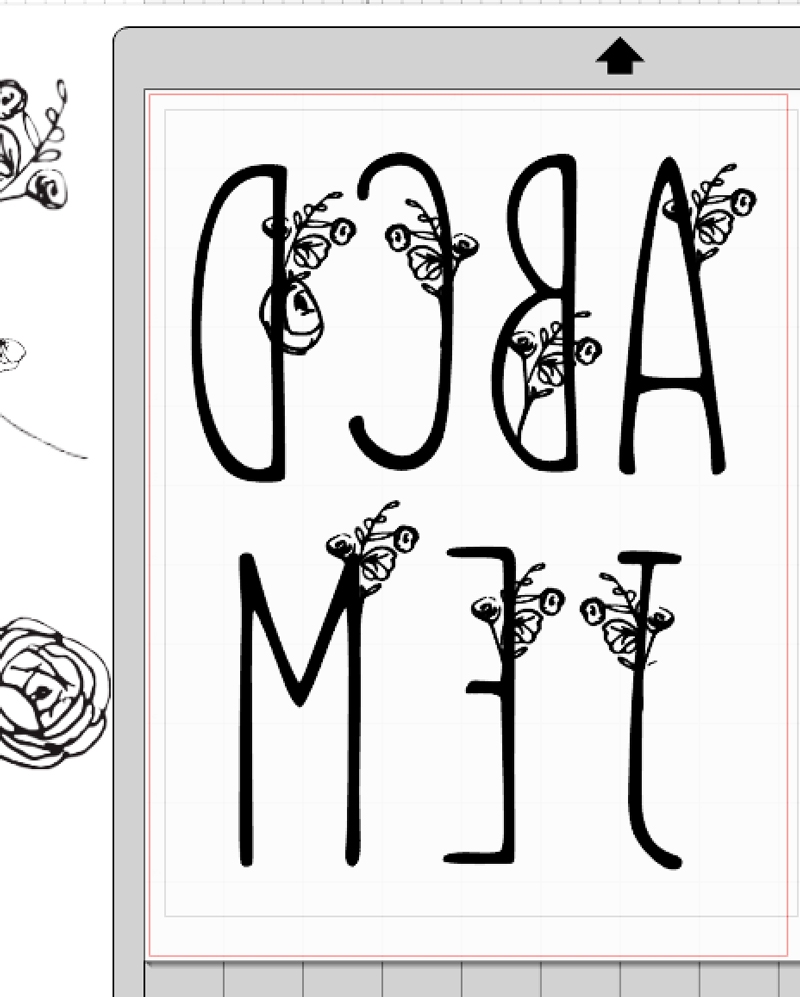
- Place your flowers and laurels on each of your letters
- Flip them, so when you iron them on, they will appear correctly
Step 2: Send your Floral Monograms to print
- Print a sample of your monograms on regular printer paper first to make sure that the size and colors meet your expectations
- If you are happy with the way the sample looks, load your Light Fabric Transfer sheet into your printer
- Send your monograms to print
Step 3: Trim your Monograms
Cut out your monograms staying very close to edges. Keep the edges rounded to avoid any curling or lifting.
Step 4: Prepare Your Surface and Iron
According to the package instructions, your surface should be waist high or lower so that you can apply more pressure when ironing. As mentioned before, I did not have an alternative surface, so I used my ironing board. Before turning your iron on, make sure it is empty of all water and set to No Steam.
- Put a piece of scrap cloth on the surface (a pillowcase was recommended)
- Set your iron to the highest cotton setting and preheat for 5 minutes
- Iron your scrap piece of cloth or pillowcase to remove the wrinkles
- Lay your tote on the scrap material or pillowcase
- Iron your tote to remove any moisture
Step 5: Iron your Floral Monograms on to your Totes
- Place the transfer paper with your printed floral monogram face down onto your tote
- Iron on with pressure by making slow passes across the entire transfer – from left to right and top to bottom
Step 6: Cool Down
- After ironing, remove your tote from the heated surface
- Allow your tote to cool for about 2 minutes
Step 7: Peel
Begin slowly peeling the paper backing from a rounded corner of the transfer.
And that’s it! So you now have some sweet monogrammed gift bags you can give your friends and family. Which flowers did you use?

Looking for some more fun and DIY inspiration? Take a look at some of my Home Decor DIY Tutorials and craft a little longer with me!
4 Comments on DIY Mini Monogrammed Tote Bags
Comments are closed.



I could think of about 100 different ways this would be an amazing bridesmaid gift! Thanks for sharing!
Thanks so much, Andrea! ☺️
Beautiful! Simply elegant! I downloaded the flowers. Now to get creative. Thanks for sharing.
So glad you like them, Denise! Happy crafting with your flowers ?