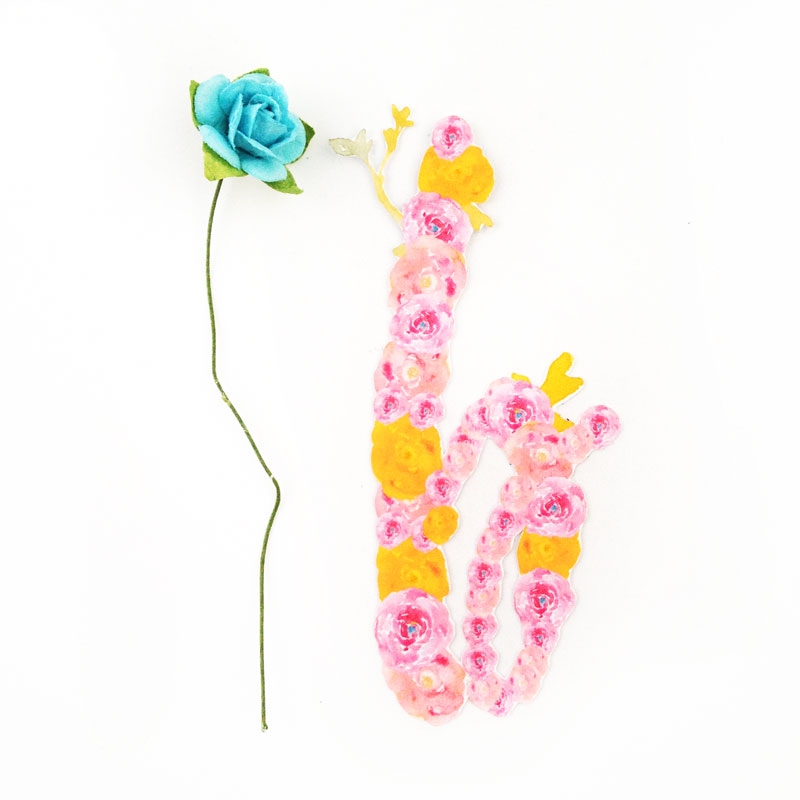
Happy Thursday. It’s Spring Break in our neck of the woods, which means catching up on movies, play dates and such. Oh, the life of a kid! Hence the delayed post. When I saw that Angie posted another set of lovely ranunculus freebies (be sure to read her terms and conditions), I was instantly inspired to make another set of floral monogrammed tags. Like these vintage letters and my other floral ones. Another excuse to use my Silhouette CAMEO and its print and cut feature.
The What
- Silhouette cutting machine
- Silhouette Studio
- Cutting Mat
- Natural hemp cord
- Hole punch
- Floral clip art – I used Angie’s ranunculus freebies
- Cardstock
The How
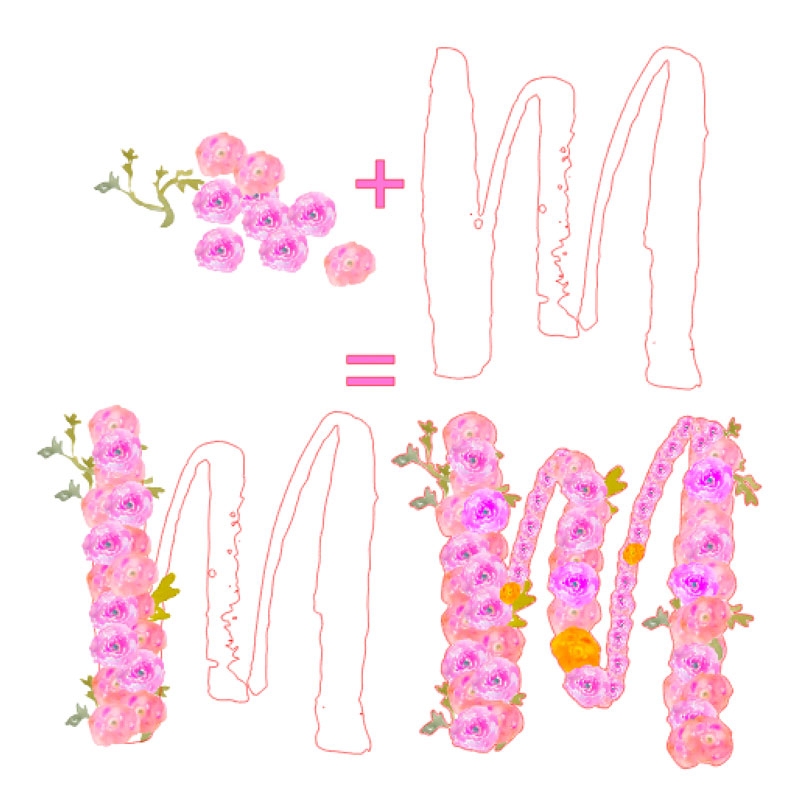
- Download and merge your floral clip art in Silhouette Studio
- To create cut lines around each feather, use the trace and crop tools
- Type out your letters using your favorite calligraphy or brush font. For this project, I used the Brushy Mini Font
- Fill and Arrange your flowers in the letters
- Once you are happy with the way they look, move the text and leave the flowers
- Group the flowers together and create a cut line around them using the trace and crop tools
- Repeat steps 3-6 for your other letters
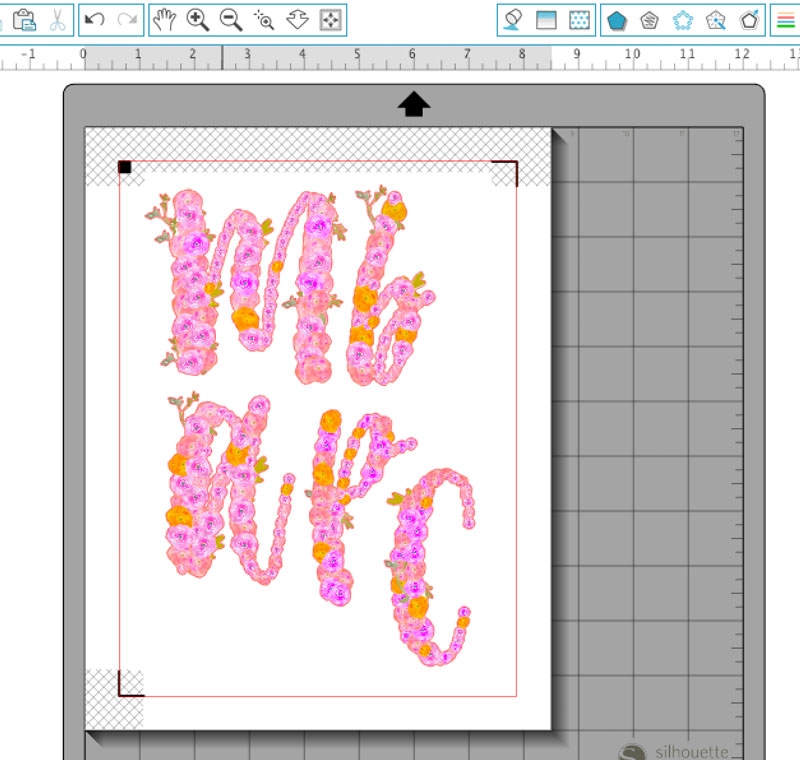
- Arrange your floral letters on your pages, then send to print and cut
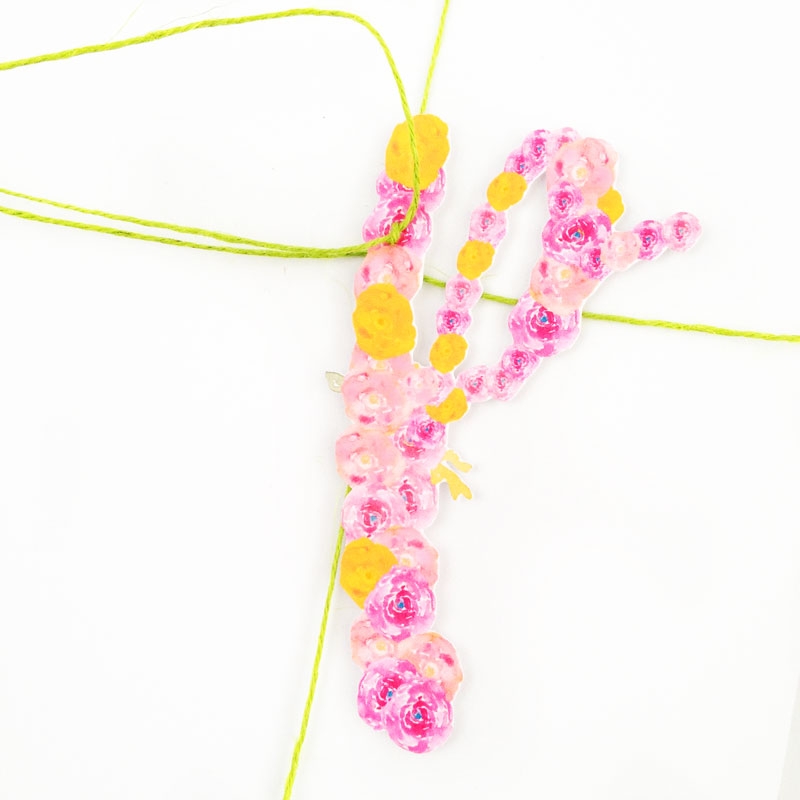
- Once your letters are cut, punch a hole, and use string to attach to your pretty packages
Tip: If you want to alter the colors, play around with the Shader Effects tool
Now that you have your own pretty floral monograms, you can use them on gifts, packages or even as place cards for your Mother’s Day celebrations. So many options! How will you use yours?