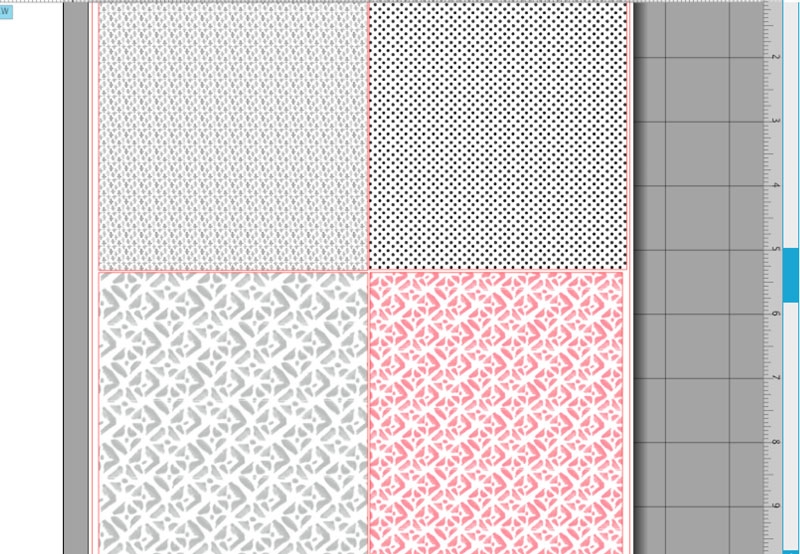
I’ve got a quick one for you on this fine Friday. I’m the daughter of a teacher, so stationery is part of my blood. Pencils have not been acknowledged enough on this little blog, and it is time I address that. I used the free patterns over at Angie Makes for my “dipping”. They were actually my left-overs from this DIY Patterned Button and String tutorial. If you have any leftovers from that temporary tattoo project, then dig them out and use them. These DIY pattern dipped pencils are the perfect addition to your stationery. Maybe even as part of a gift for a loved one with matching stationery. Either way, let’s make some!
The What
- Silhouette Studio
- Temporary Tattoo Paper
- Wet towel
- Scraper
- Pencils
- Printer
- Scissors or Craft knife and cutting mat
- Clear sealant or nail varnish
- Patterns (please be sure to read the terms of use)
The How
- In Silhouette Studio, open your patterns and flip (mirror) them
- Print your patterns onto tattoo paper
- Apply the clear adhesive sheet. Use your scraper to smooth the bubbles out
- Cut a strip of your pattern
- Remove the clear adhesive paper, wrap then apply the tattoo strip just below the erasers of your pencils with a wet towel
- Apply a clear sealant or nail varnish to the pencils
And now you have a lovely set of pattern dipped pencils. How will you be using them?
Looking for some more inspiration? Check out my other tattoo paper projects and craft a little longer with me.
4 Comments on DIY Pattern Dipped Pencils
Comments are closed.


These are super cute Maritza. Great idea for using up the leftover tattoo paper 🙂
Thanks so much, Emma! ?
I love these so much! 🙂
Oh yay, Angie! So glad you like them – your patterns are awesome!