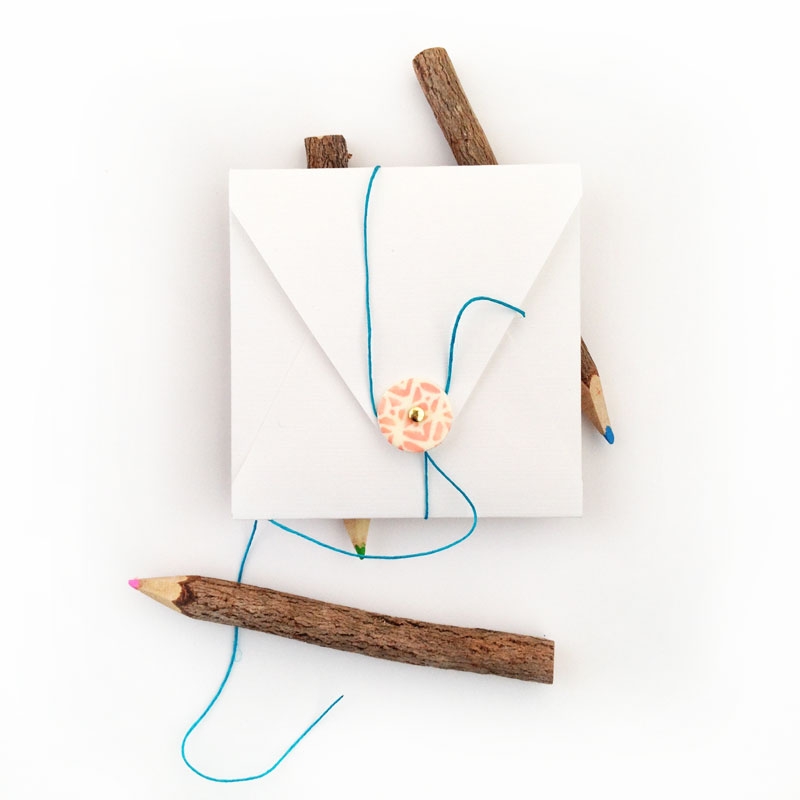
A new week, a new craft. Or 2. We’ll see. I’m a bit obsessed with button and string envelopes. Single or double. I’ll take them all. Today I wanted try a little natural texture like wood and hemp cord. Add some gorgeous free patterns from Angie and gold brads? Oh yes. We’ve got the makings for lovely diy stationery. This is a versatile project. You can use any pattern or graphic that’s in your stash given the season or occasion you are sending your packages. Shall we?
The What
- Silhouette Studio
- Patterns or graphic – I used these free watercolor patterns from Angie
- Temporary Tattoo Paper
- Wet towel
- Scraper
- Wood circles
- Printer
- Natural hemp cord
- Hole punch
- Scissors
- Brads
- Envelopes – I used my Layering Liners template to make the ones seen in this post
The How
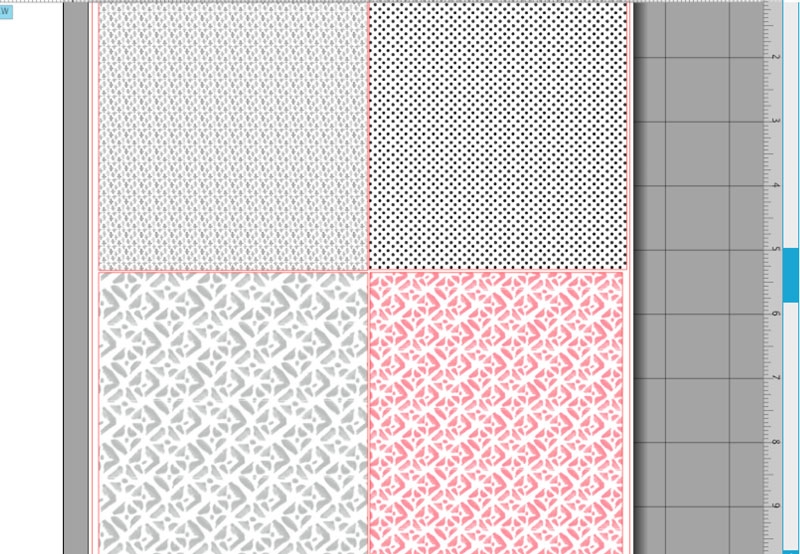
- Open Silhouette Studio and load your patterns
- Create rectangles on your page and fill them with your patterns
- Print your patterns onto tattoo paper
- Apply the clear adhesive sheet. Use your scraper to smooth the bubbles out
- Trace the wood circles on the underside of the tattoo paper and cut
- Remove the clear adhesive paper, and apply the tattoo to a wood circle
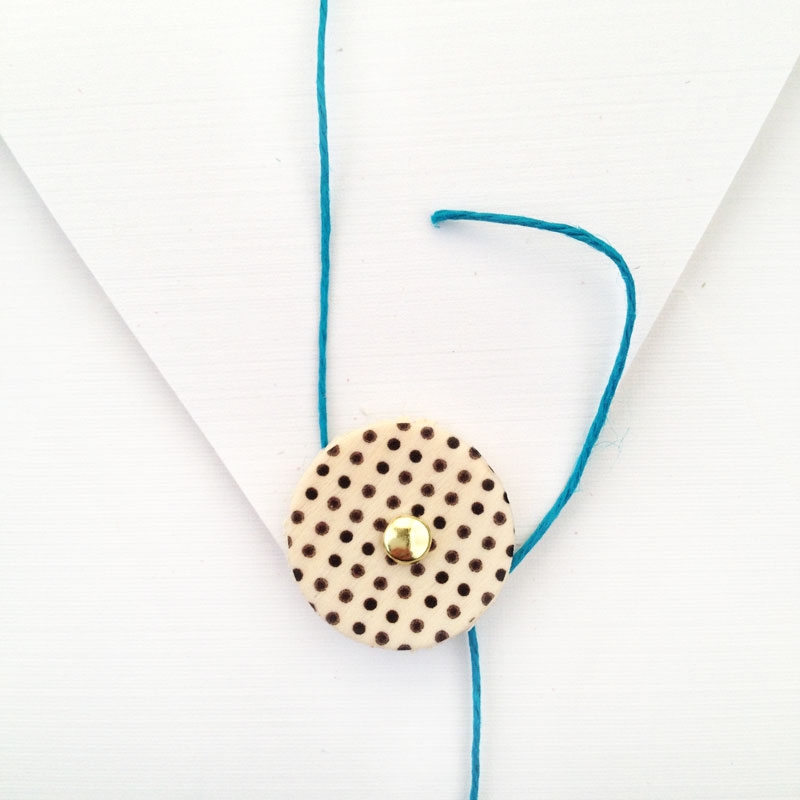
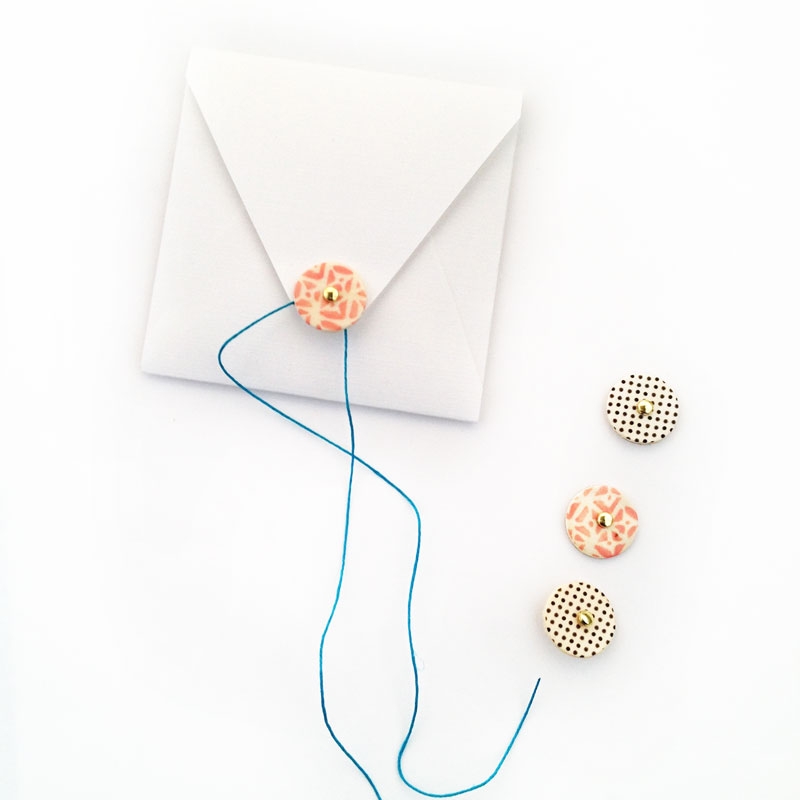
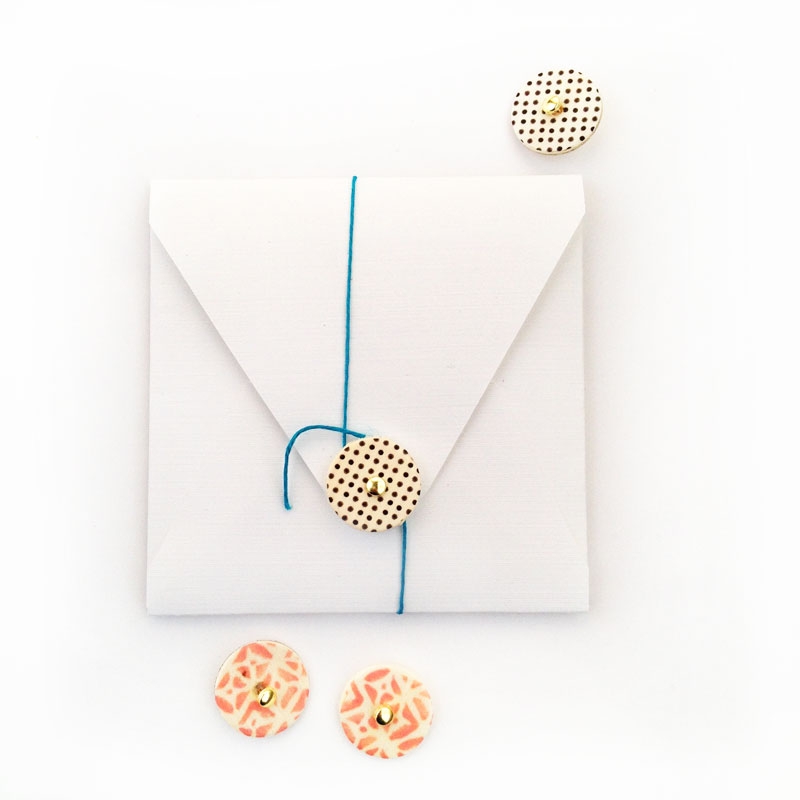
- Punch a hole in the middle, and attach your wood circle to your envelope using a brad
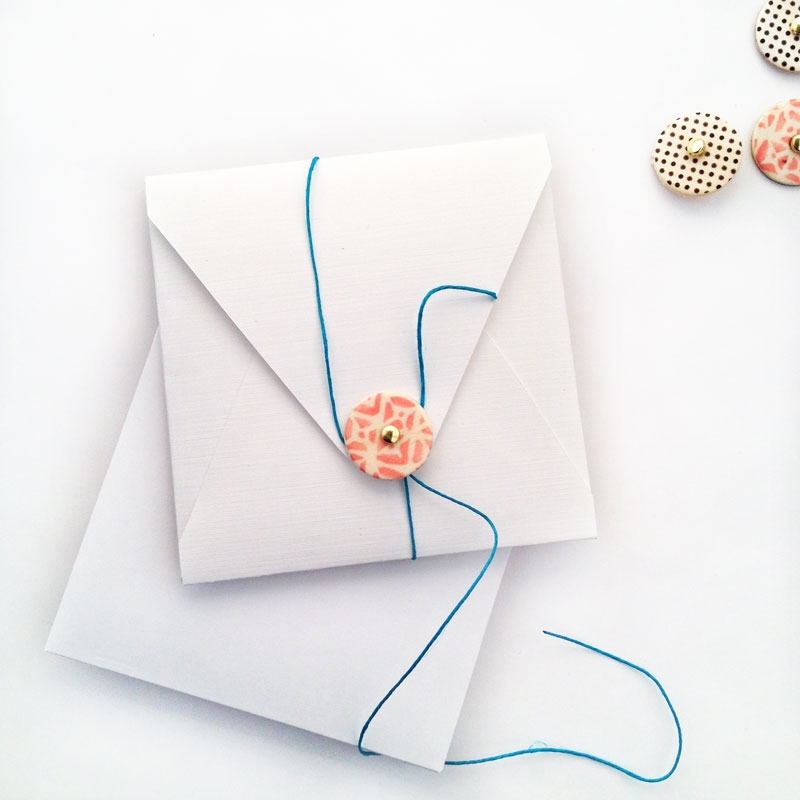
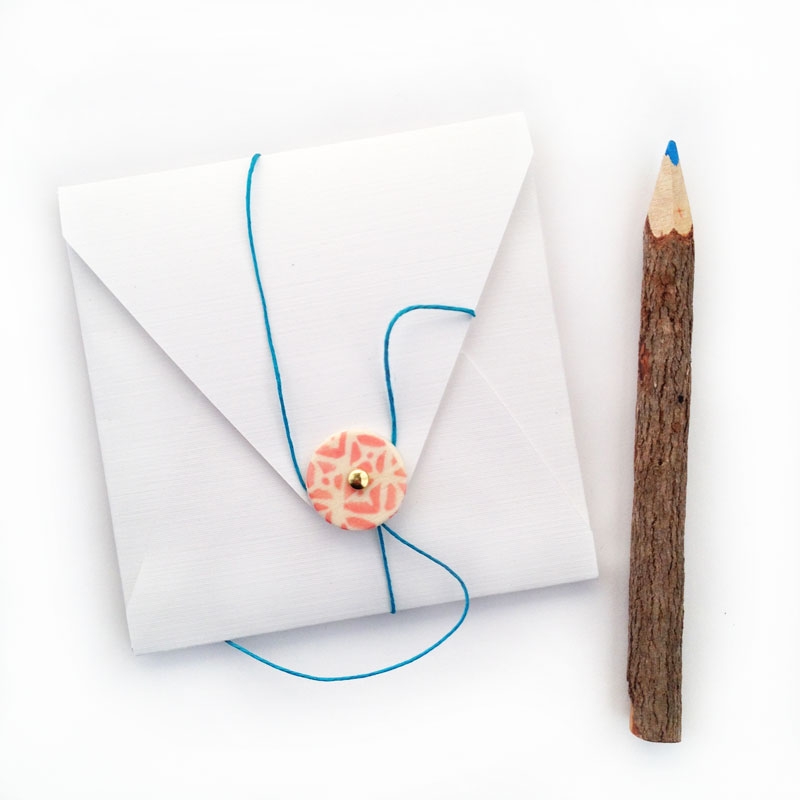
- Wrap your string around your newly made button
Applying a seal like Mod Podge will make the pattern last longer. You now have some pretty button and string envelopes. Which patterns did you use?
Looking for some more inspiration? Check out my other tattoo paper projects and craft a tad longer with me.
8 Comments on DIY Stationery – Button and String made with Patterned Wood
Comments are closed.

What a great idea! These are really cute. Love your buttons.
Yay – so glad you like them, Linda!
These are so cool! i’m sad i’m so busy and don’t have time to make them but i’ll save this and try !
Thanks, Lora!! 🙂
These are so pretty! And I feel like the possibilities in terms of design and colors are endless.
Thanks, Carolyn! So glad you like them! xo
Woah! You’re so creative. This blows my mind. So neat!
Thanks, Angie!!! xo