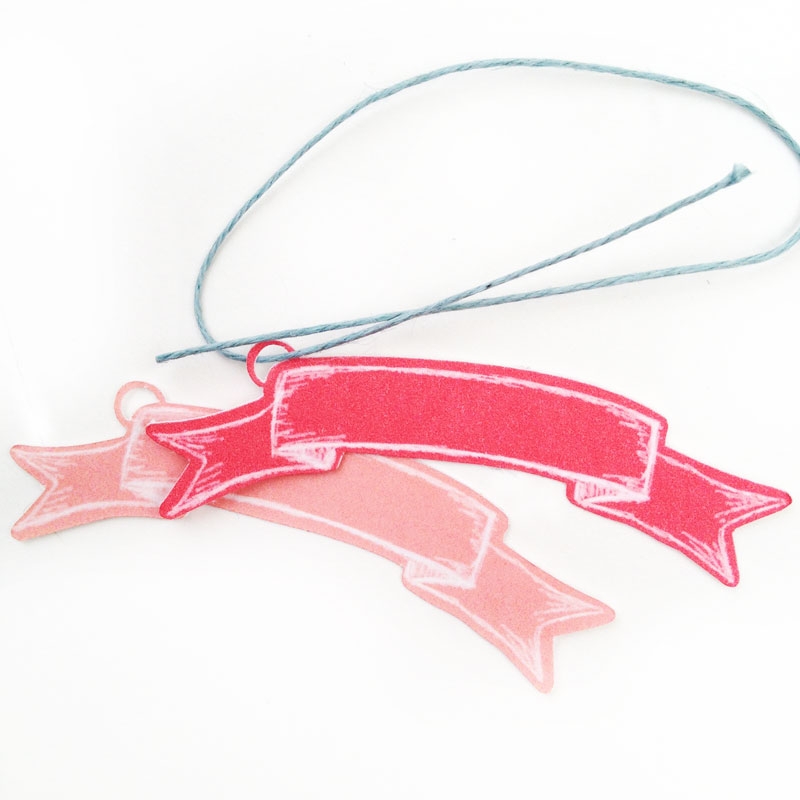
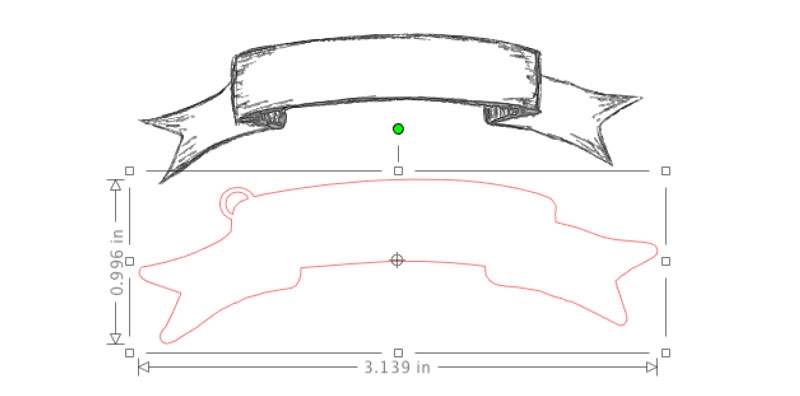
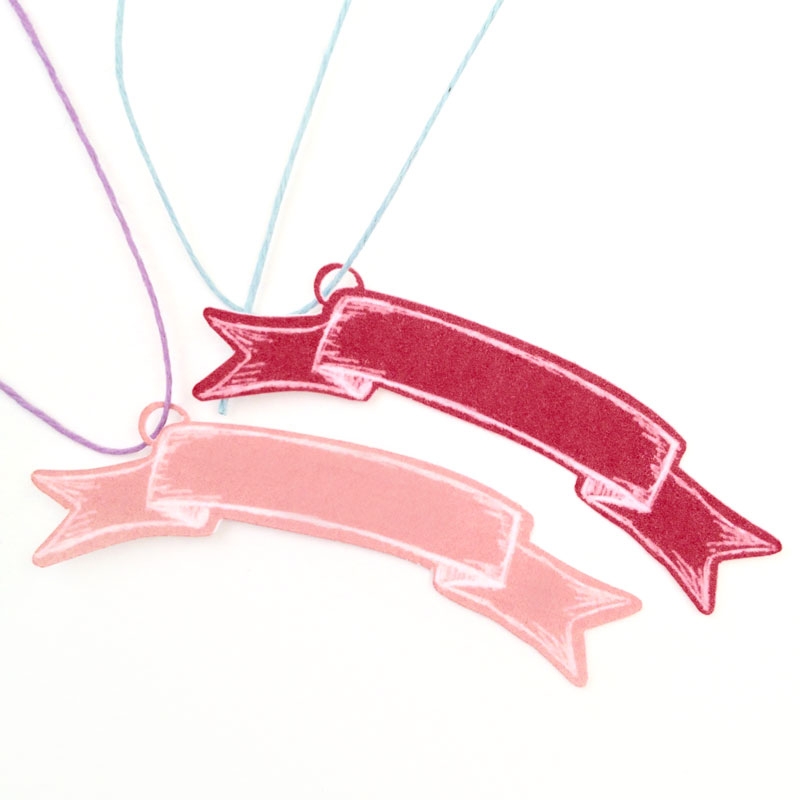
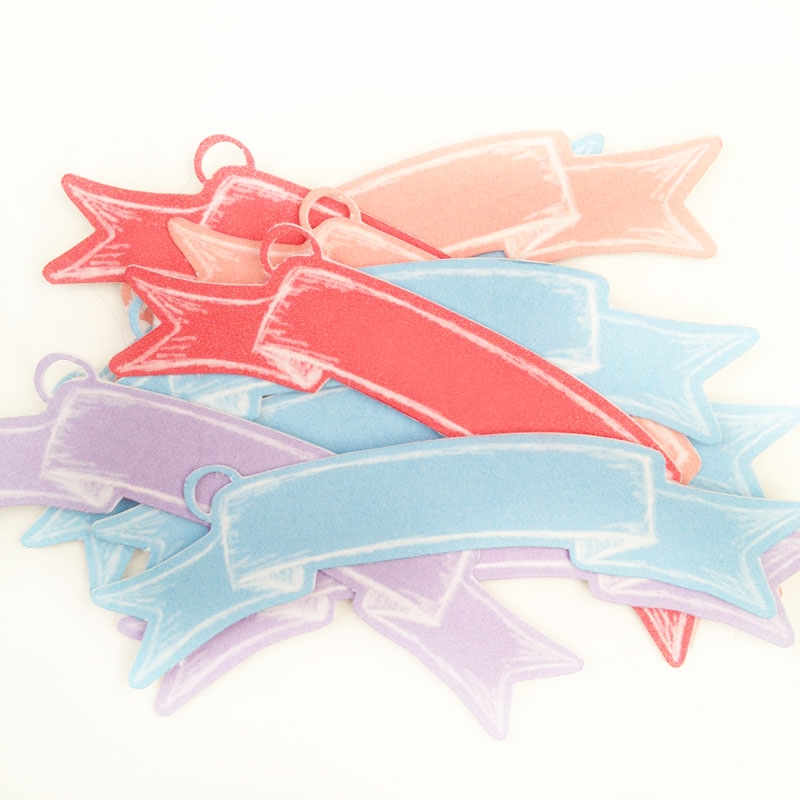
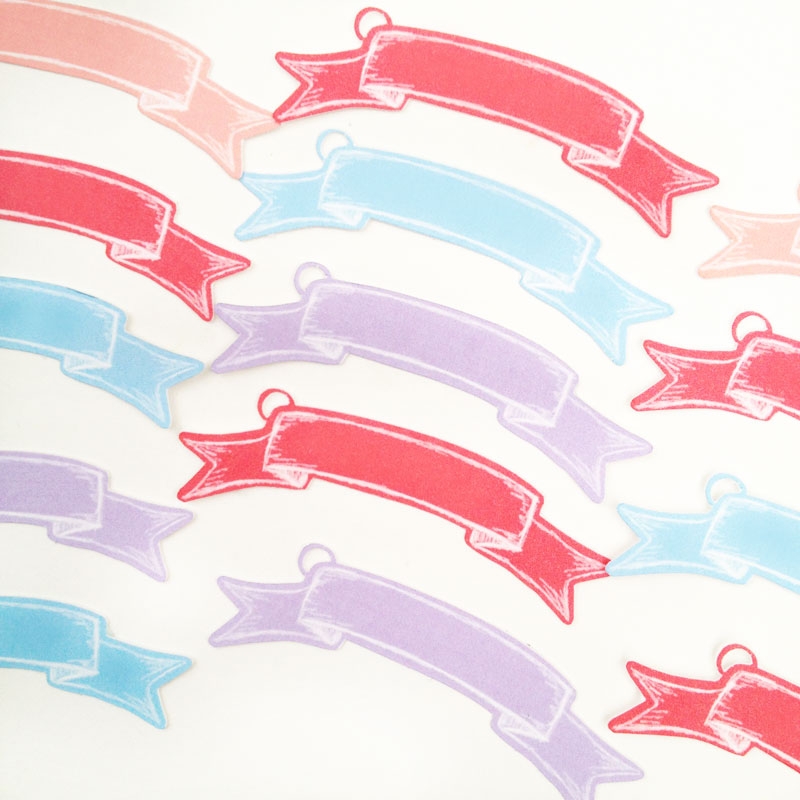
Happy Weekend! Just one more project from this week’s freebies from Creative Market. These chalkboard ribbons by Dodi Doodle make me happy. DIY Tag happy. No surprise there. I basically traced it, made an offset, colored it and used Silhouette’s Print and Cut. Similar to this camera tag post. Want to make your own? Let’s do this!
The What
- Silhouette cutting machine (I own the CAMEO)
- Silhouette Studio
- Cutting mat
- Chalkboard ribbons
- Cardstock
- Printer
- Photoshop Elements
The How
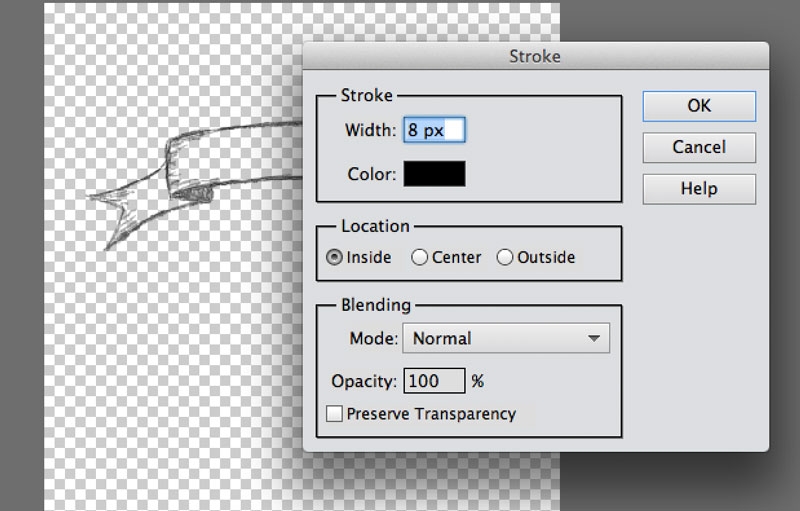
- Download and open your ribbon file in Photoshop Elements. Change the stroke/outline to black (Edit > Stroke (Outline) Selection…). The black outline makes it easy to trace later on. Save the PNG under another filename (you will need the one with white outline later too)
- Open both the black outline PNG and white outline PNG ribbons in Silhouette Studio
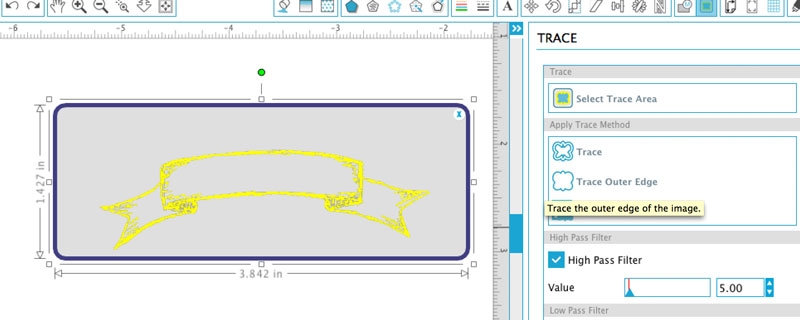
- Resize both your ribbons to the width of your tag, and trace black one’s outer edge
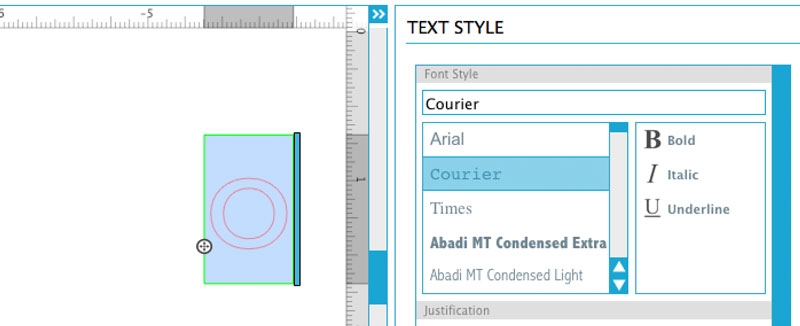
- Create an offset of the traced image. For the tag’s loop or hole, use a letter “O” using the Text tool. Merge the “O” onto your offset and fill it with color
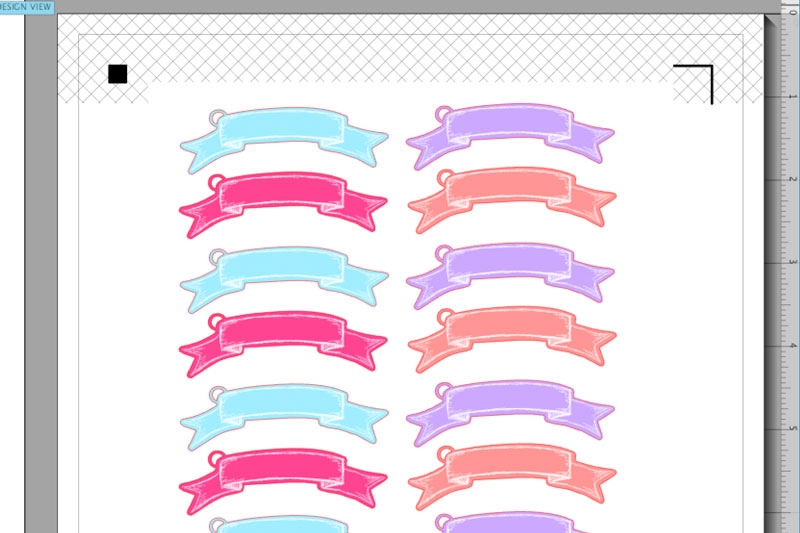
- Now place the white outlined ribbon onto your offset. If you can’t see it, select it and Bring to Front
- Make copies, add your Registration Marks and Print and Cut using cardstock settings
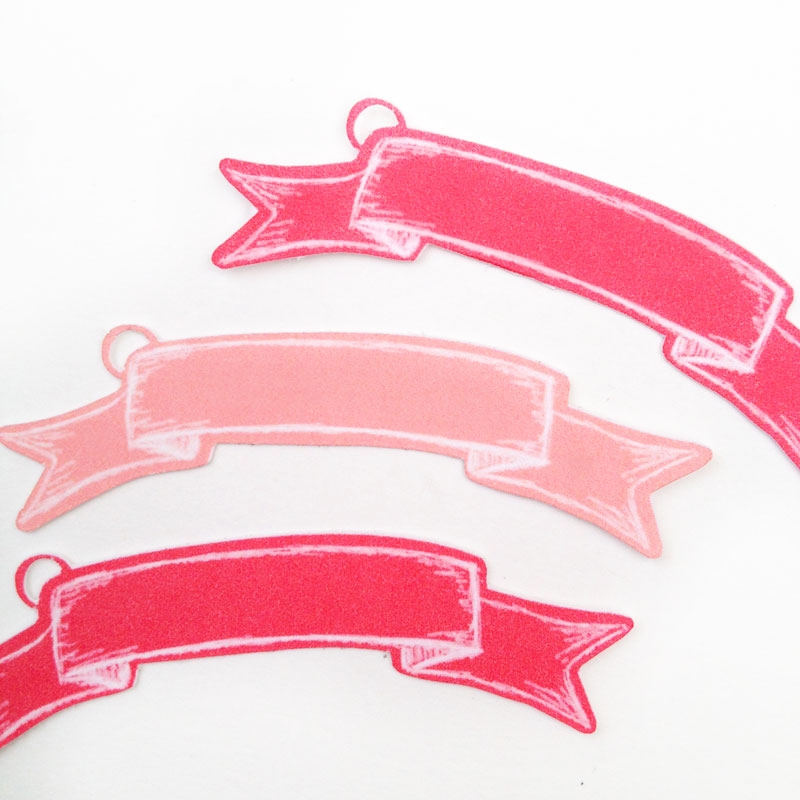
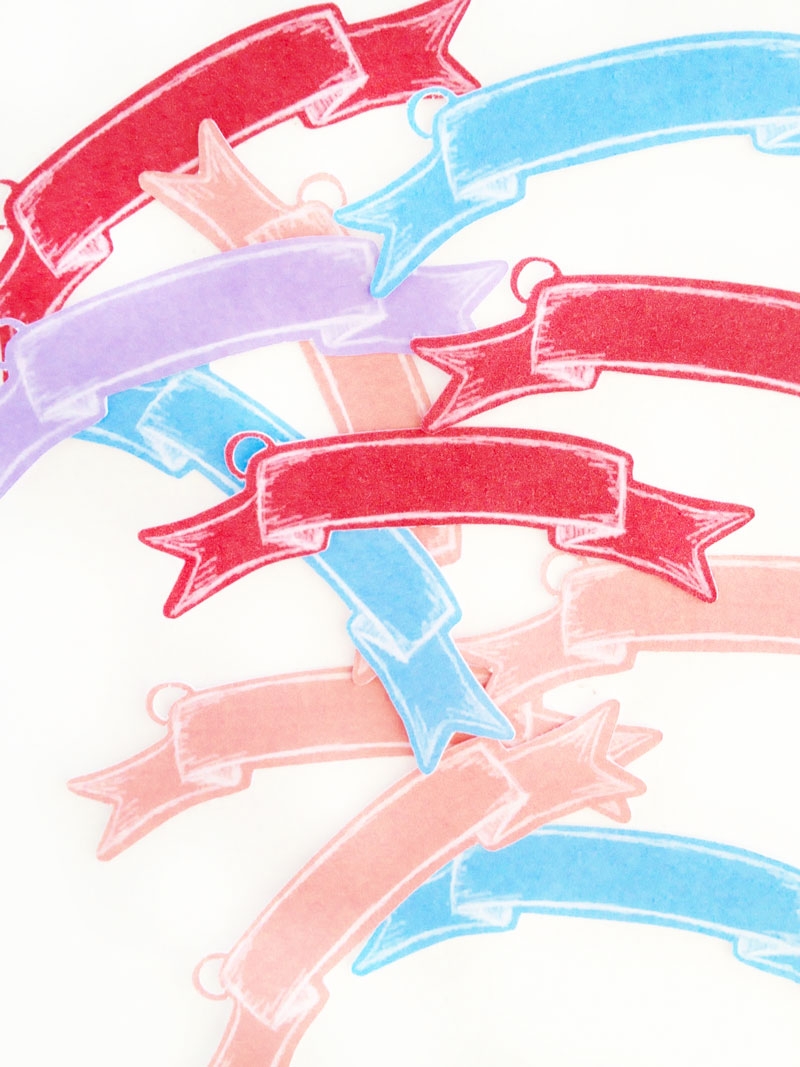
And there you have it! How will you use your sweet little chalkboard banner tags?

Looking for some more inspiration? Take a look at my other Silhouette projects.
