
How was your week? It’s the end of the first full week of summer vacation and we’re having a blast. I’m totally digging the lack of schedule and enjoying a little more time to craft for the blog and with my little fellas. Speaking of, how about these cute DIY Watercolor Letter Tags? These pretty little letters are available only this week for free on Creative Market. Read on to see how you can make your own!
Materials: DIY Watercolor Letter Tags
- Silhouette Studio (there is a free version!)
- Silhouette cutting machine (I used my CAMEO for this one)
- Cutting mat
- Cardstock
- Printer
- Watercolor Letters (free on Creative Market this week only!)
Instructions
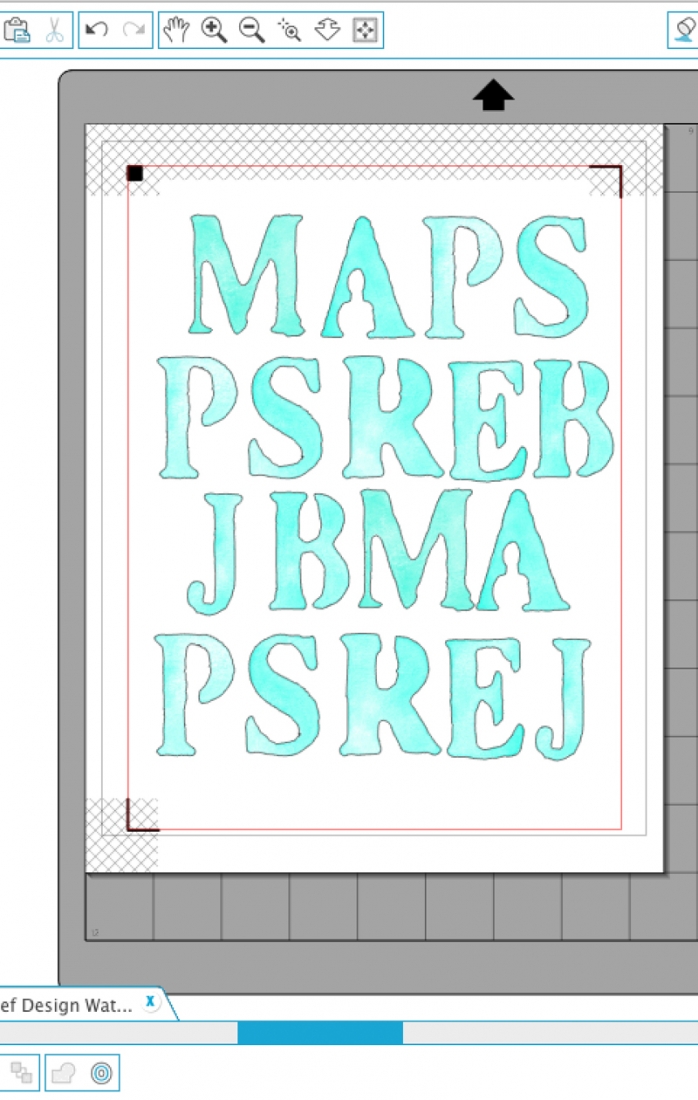
- In Silhouette Studio, merge your .PNG letters onto a new document
- Use the trace and crop tools to create cut lines around your letters. Set these to Cut
- Show registration marks for Print and Cut
- Resize and Arrange your watercolor letters onto the page. To change the color, you can either use the brush version in Photoshop and change the color there or use the Effects tool in Silhouette Studio
- Print and cut your watercolor letters using cardstock settings
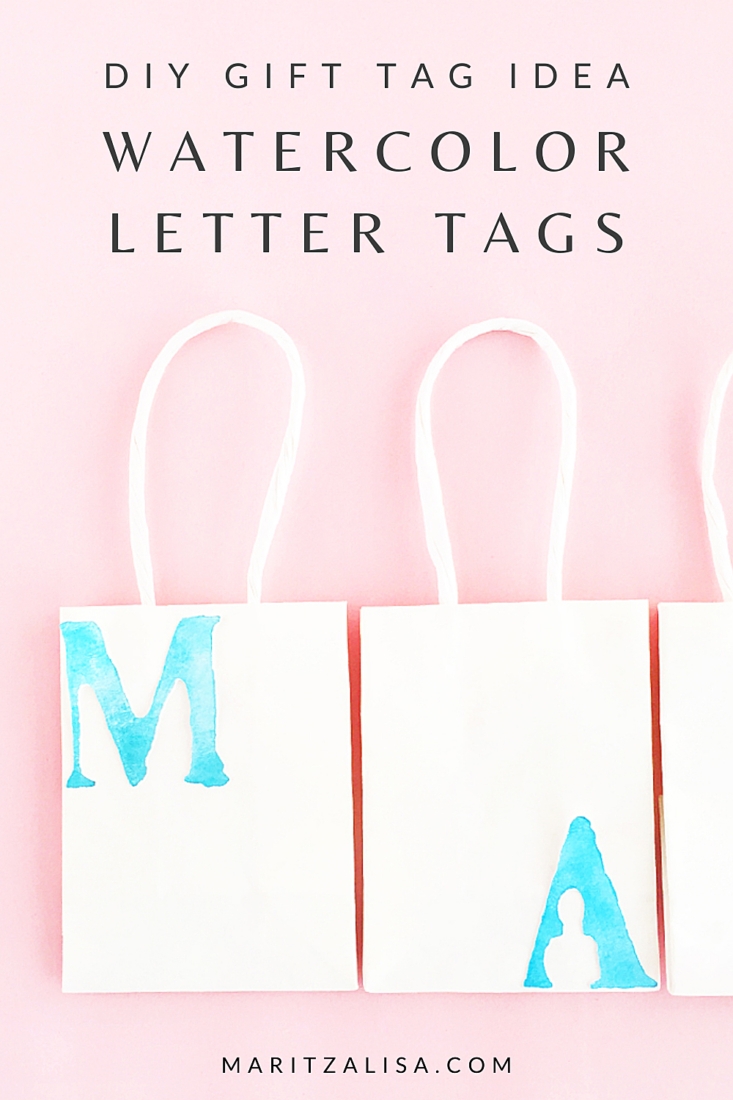
And that’s it! You now have gorgeous watercolor tags for all your pretty packages. All you need to do now is punch a hole and add string, or just adhere the letter to your package with glue.






Looking for some more inspiration? Take a look at my other Silhouette projects.
2 Comments on DIY Watercolor Letter Tags
Comments are closed.
You are fantastic!
No you are, Bonnie!! xoxoxox