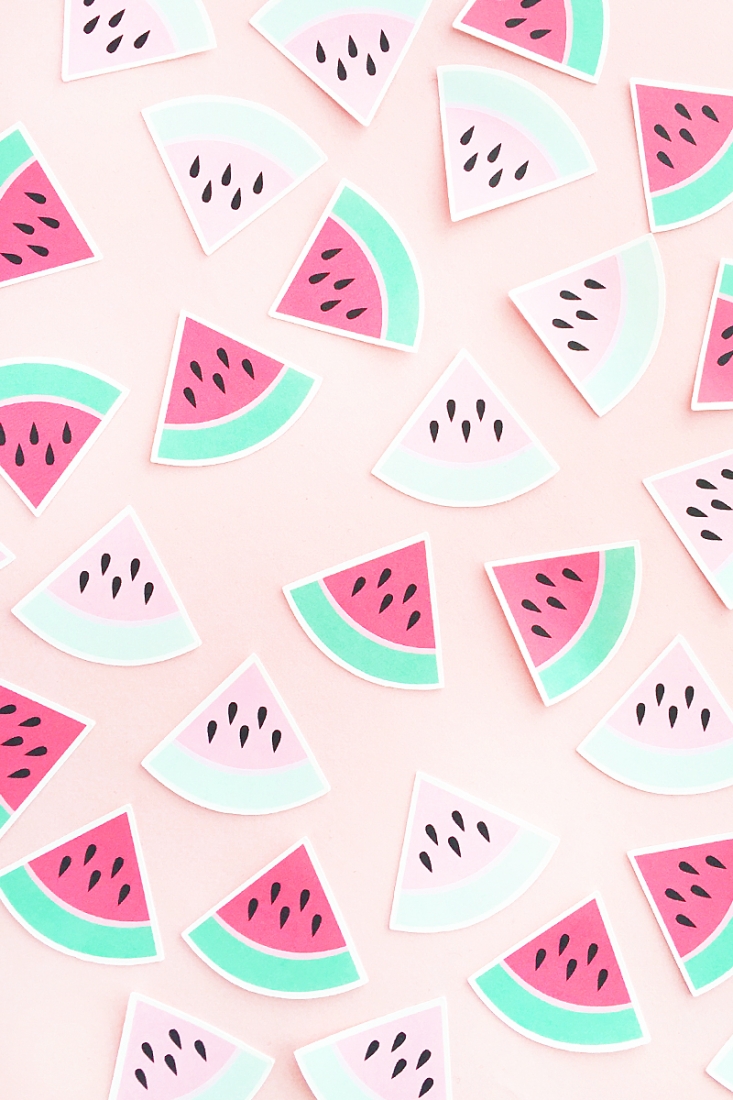
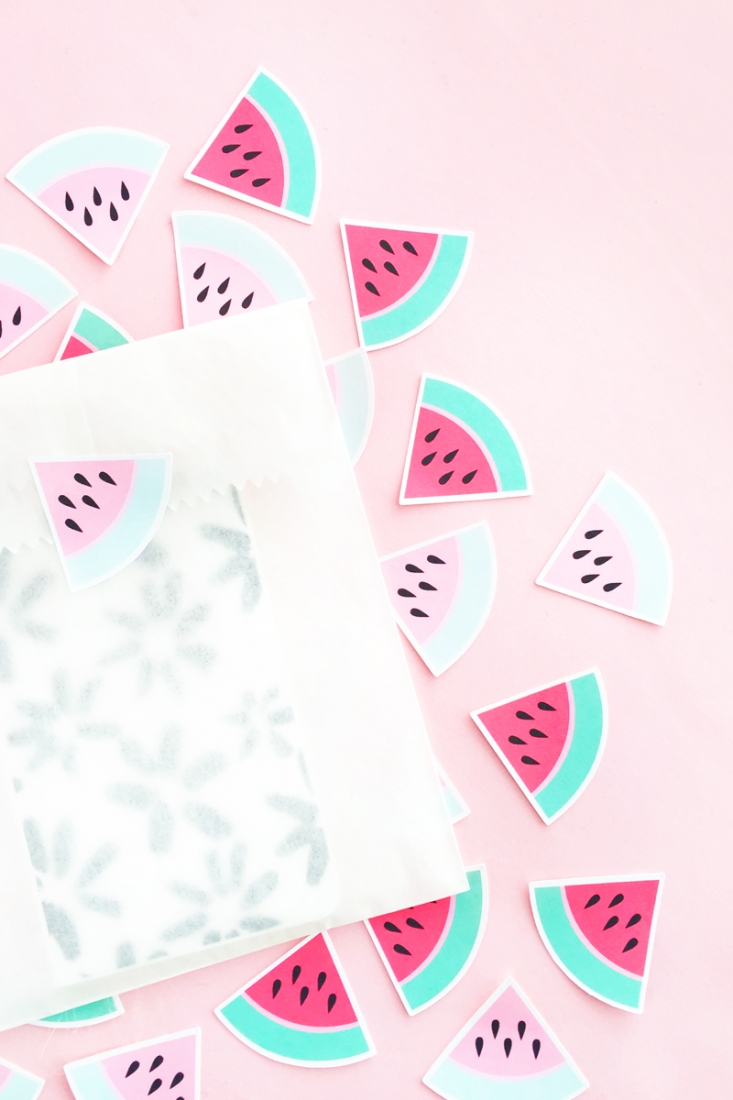
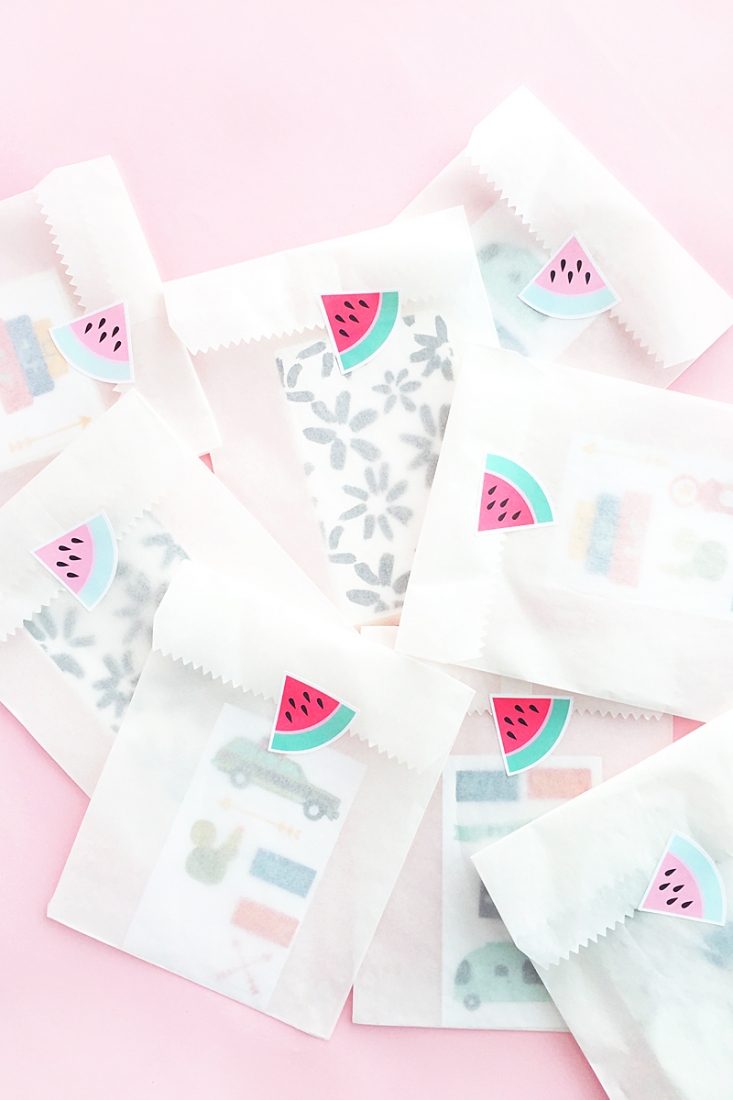
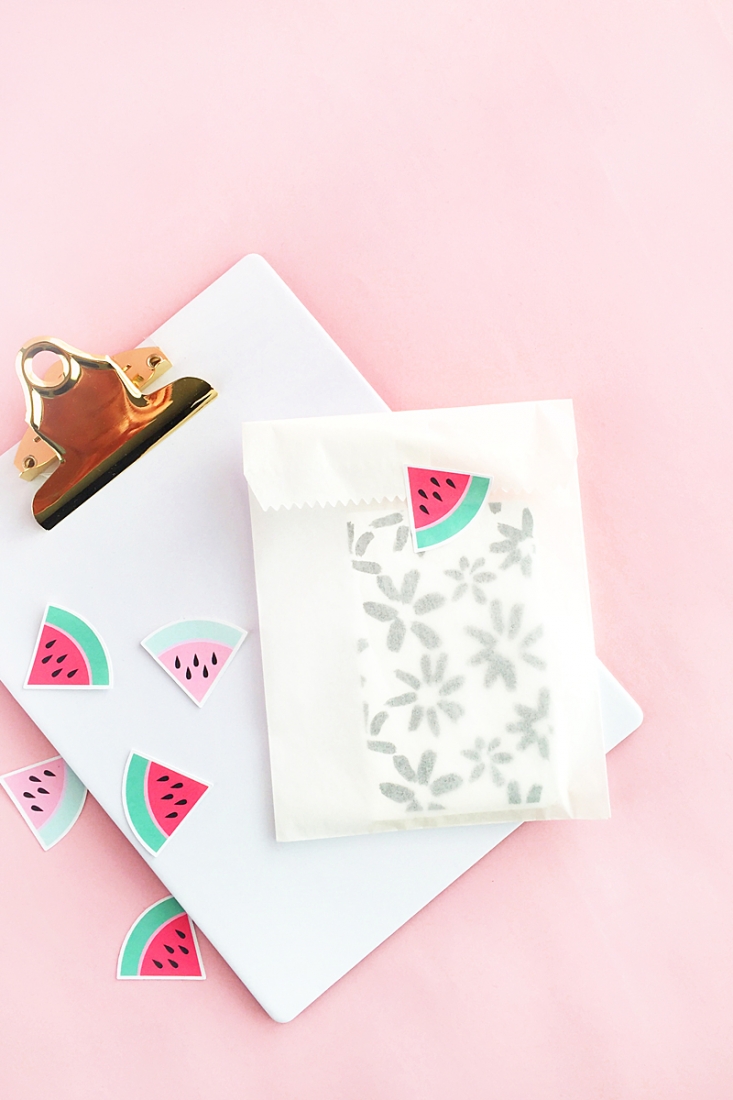
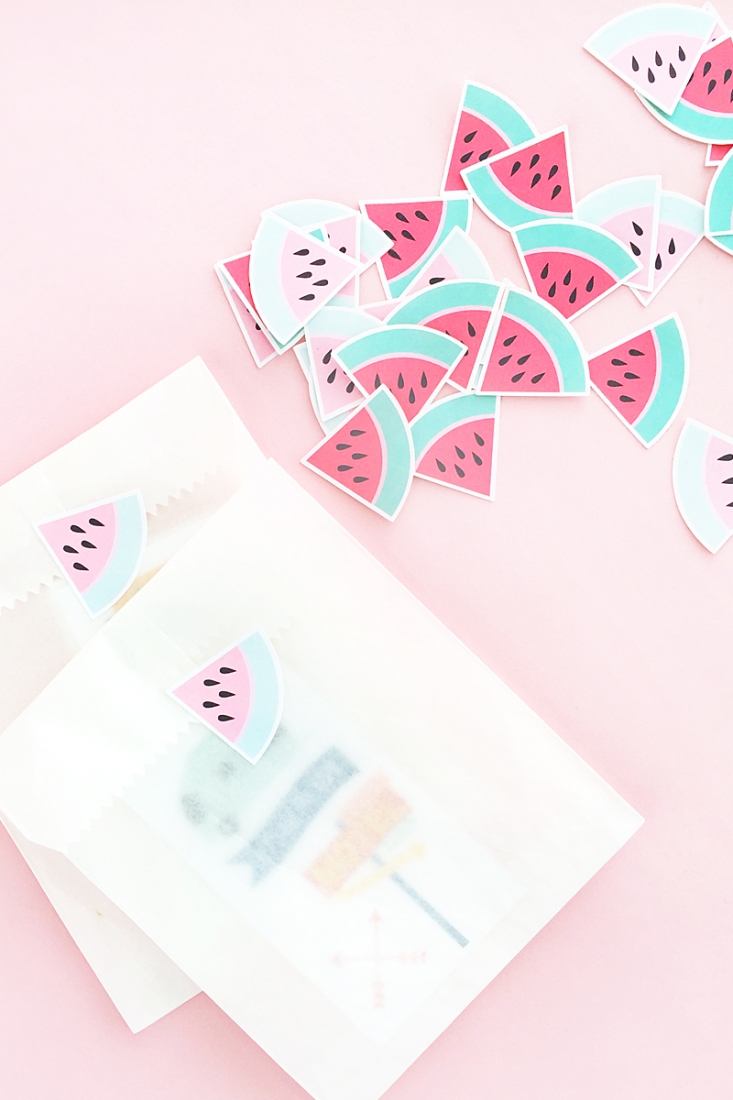
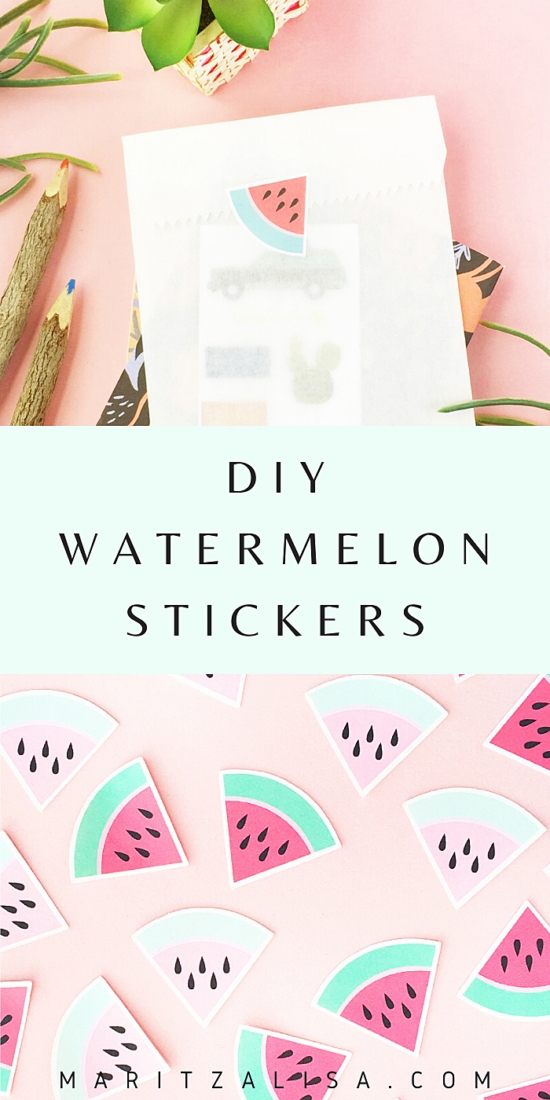
Today’s project is all about the Print and Cut feature of your Silhouette Cutting Machine. These DIY Watermelon Stickers will be perfect for adding a fruity touch of summer to your pretty packages or planners all year long. Read on to make your own sweet watermelon stickers!
Materials: DIY Watermelon Stickers
- Silhouette Studio (there is a free version!)
- Silhouette cutting machine (I used my CAMEO for this one)
- Cutting mat
- Printable sticker paper
- Printer
- Watermelon design (from the Silhouette Design Store)
Instructions:
- In Silhouette Studio, open your watermelon image in a new document
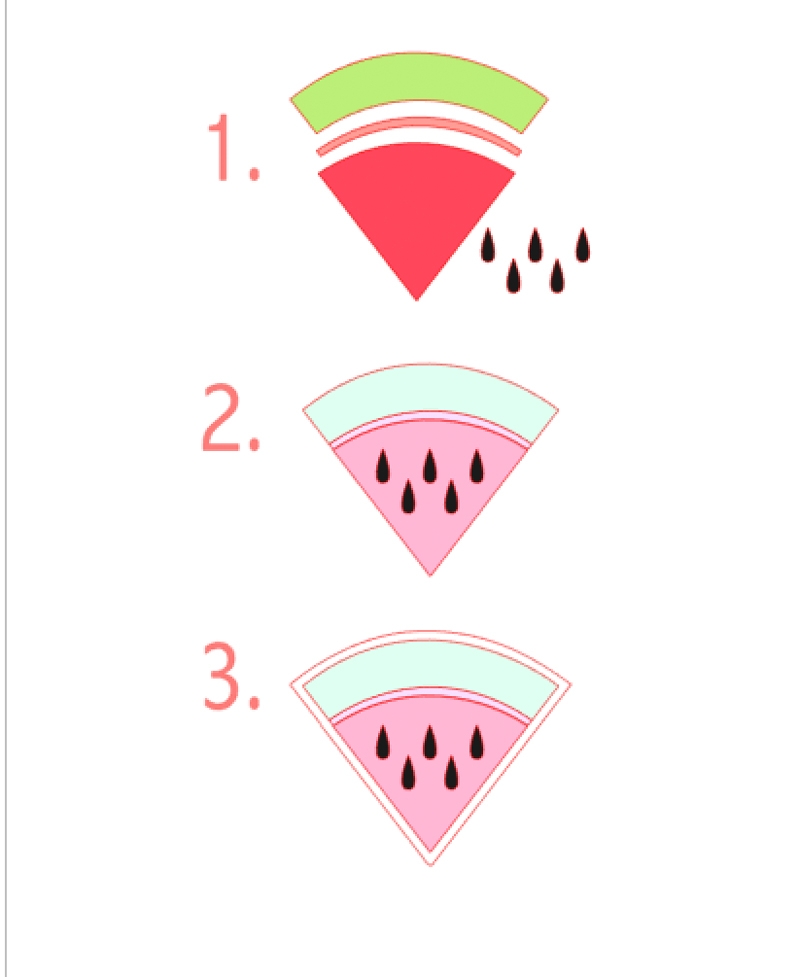
- Ungroup the design and change the colors if you choose to
- Set everything to No Cut
- Assemble your watermelon pieces, group together and resize to the sticker length you will cut
- Use the offset tool to make a white border around the image
- Set only the offset (outline) to Cut
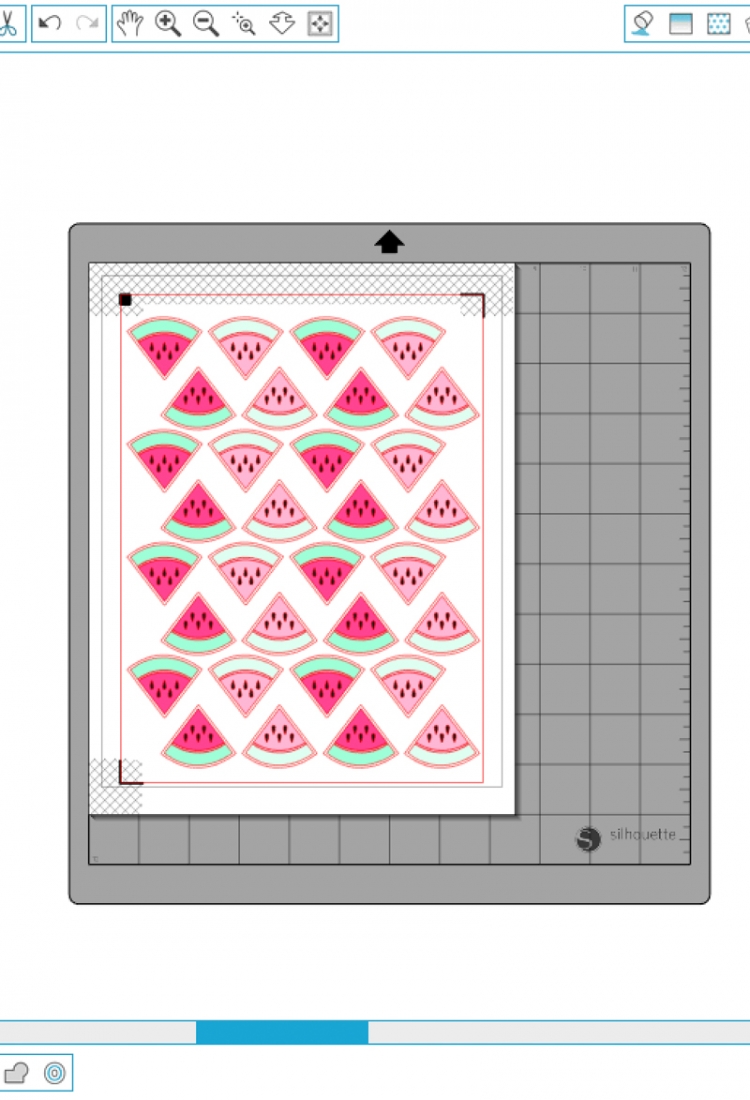
- Show registration marks for Print and Cut
- Arrange your sticker images onto the page
- Print and cut your watermelon stickers using sticker paper settings
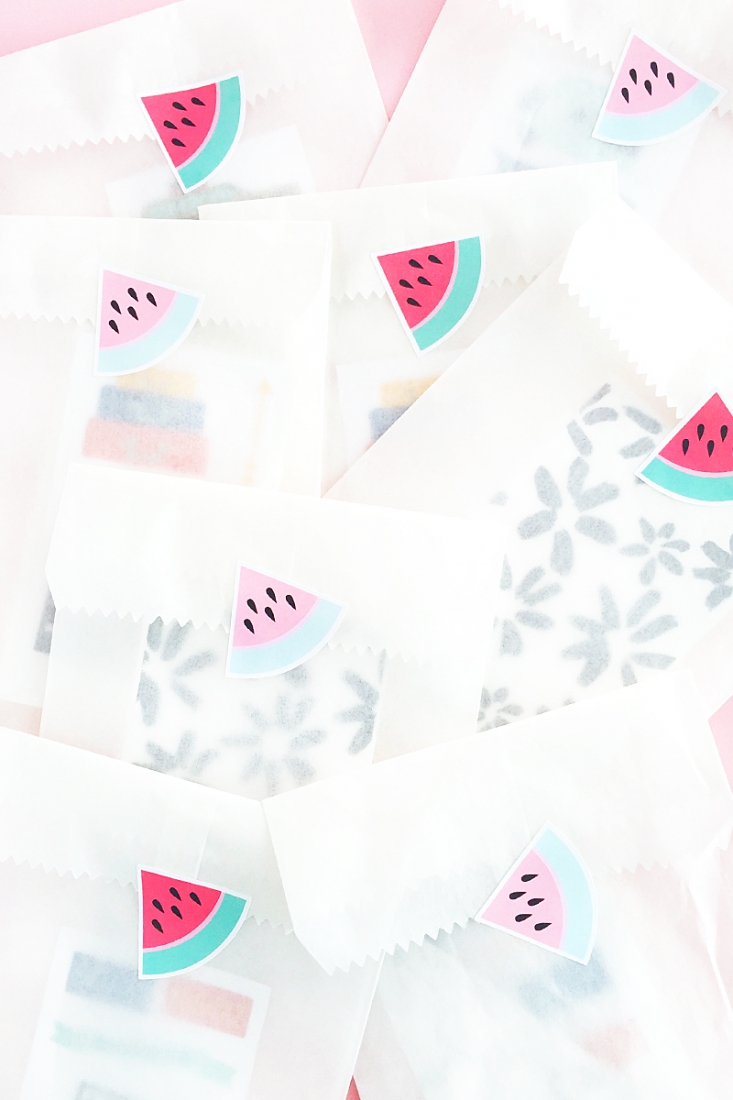
All you need to do is get your package or planner and start decorating! What colors did you use for your stickers?
Looking for some more inspiration? Take a look at my other Silhouette Projects.
7 Comments on DIY Watermelon Stickers
Comments are closed.
I love watermelon stickers! They are perfect for my planner 🙂 I’ve pinned this so I won’t forget.
Thanks so much, Joyce!! So happy you like them!! xoxox
Ah! These are so cute! Perfect for summer!
Thanks so much, Monique – so happy you like them!!
These watermelon stickers are adorable and perfect for summer!
Thanks for sharing:)
Thanks, Marwa! Summer and watermelon are best pals – 🙂 xoxox