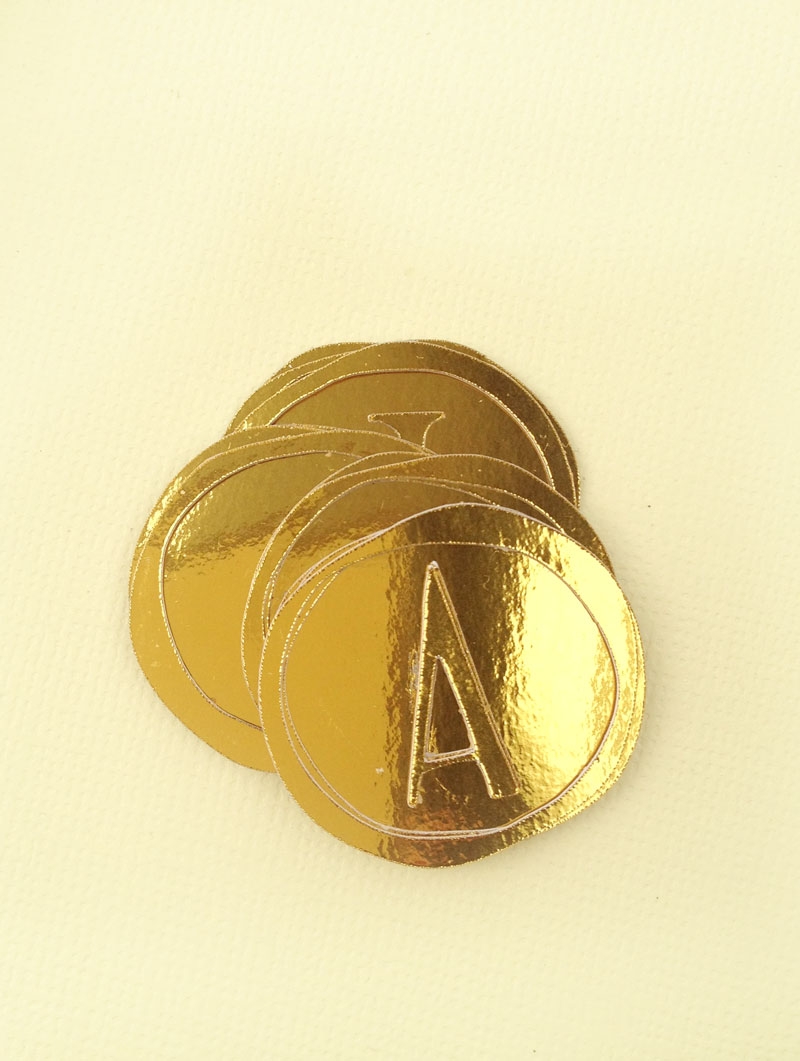
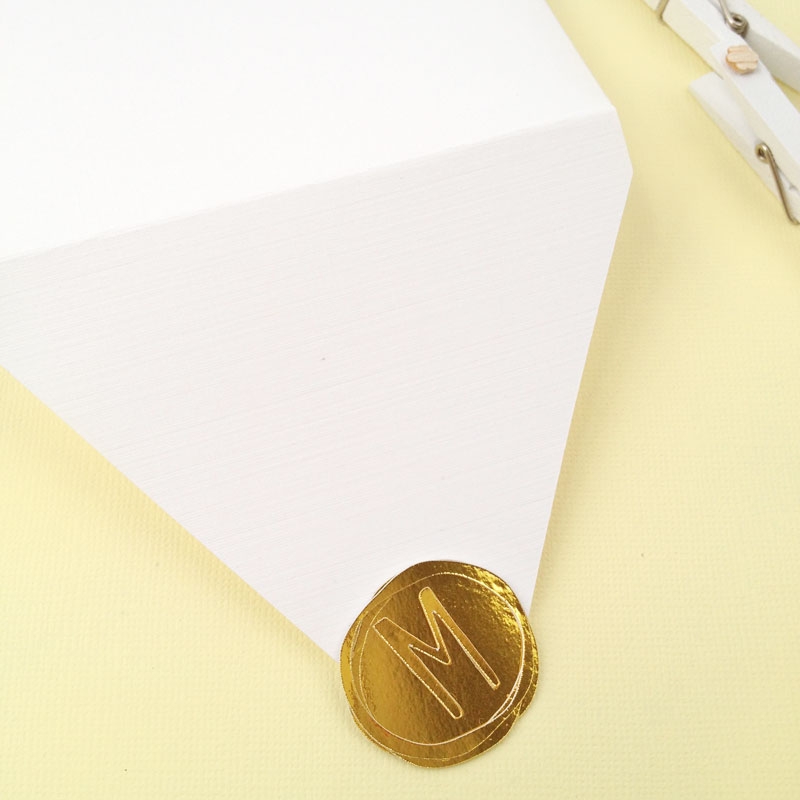
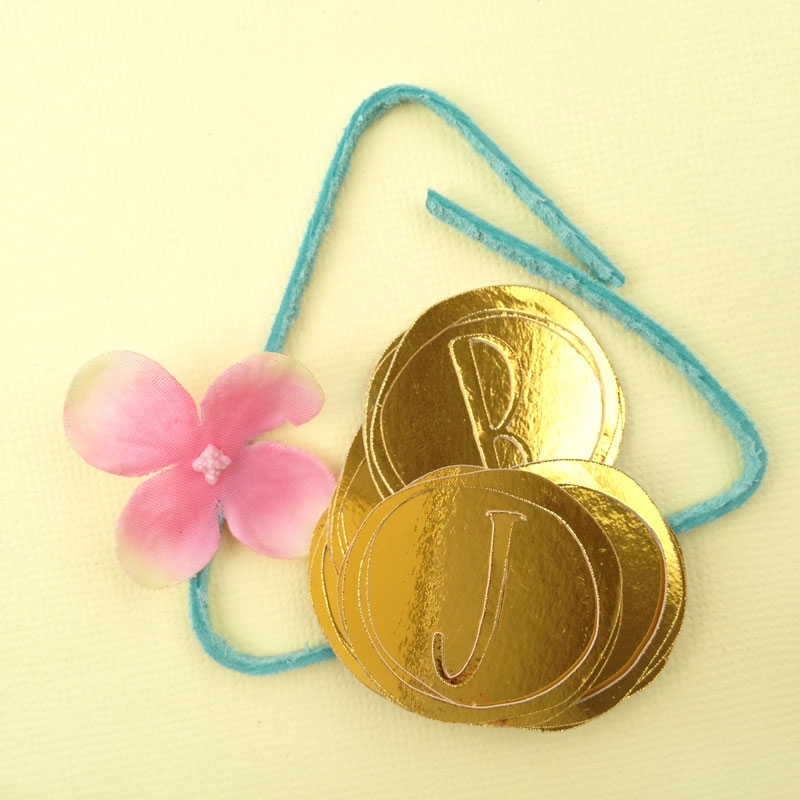
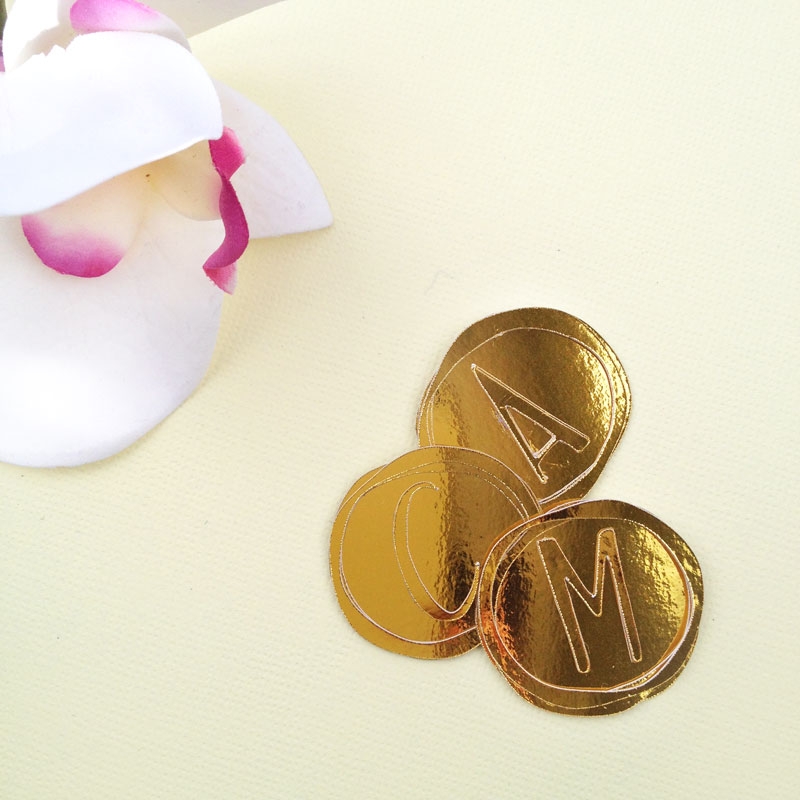
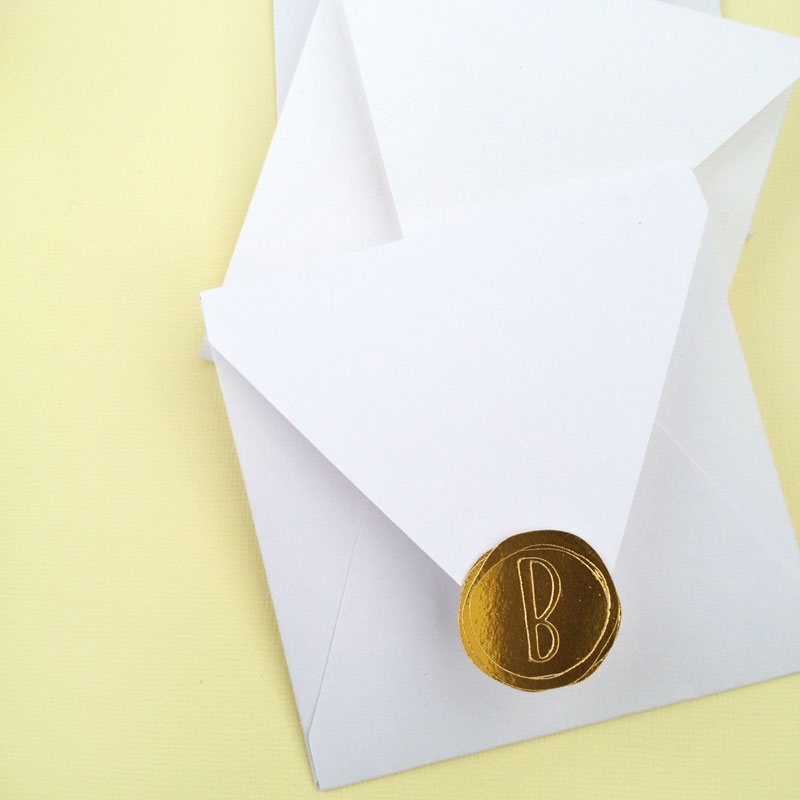
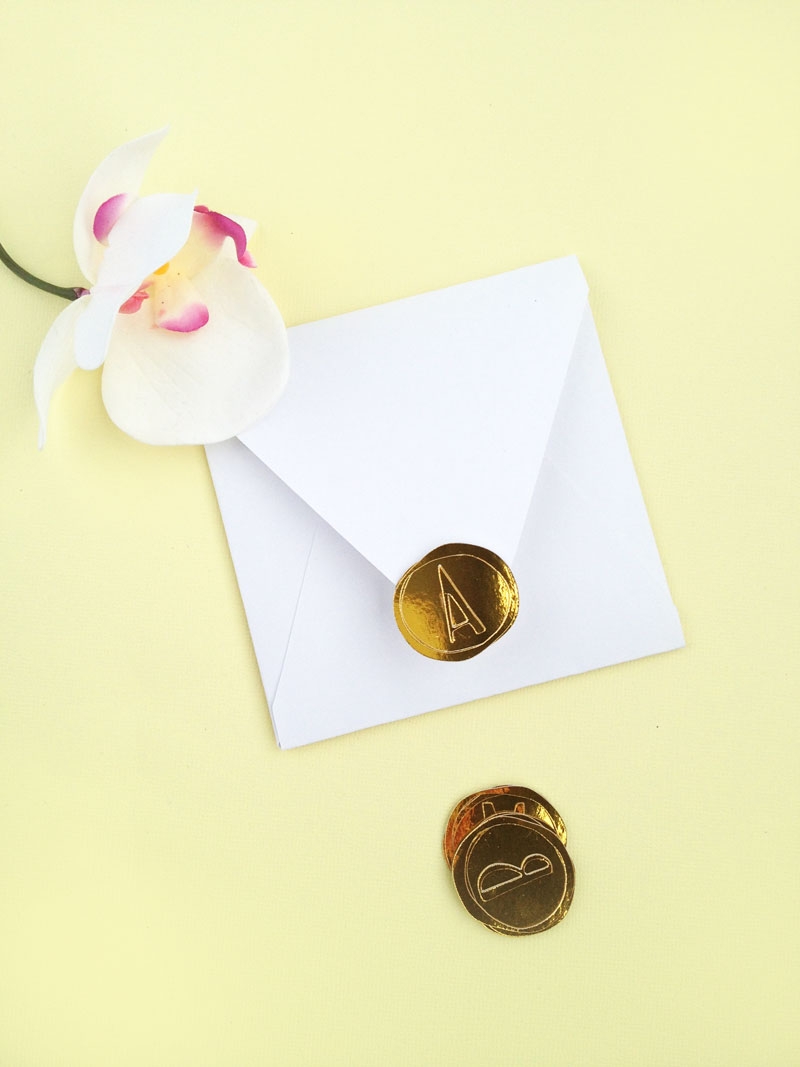
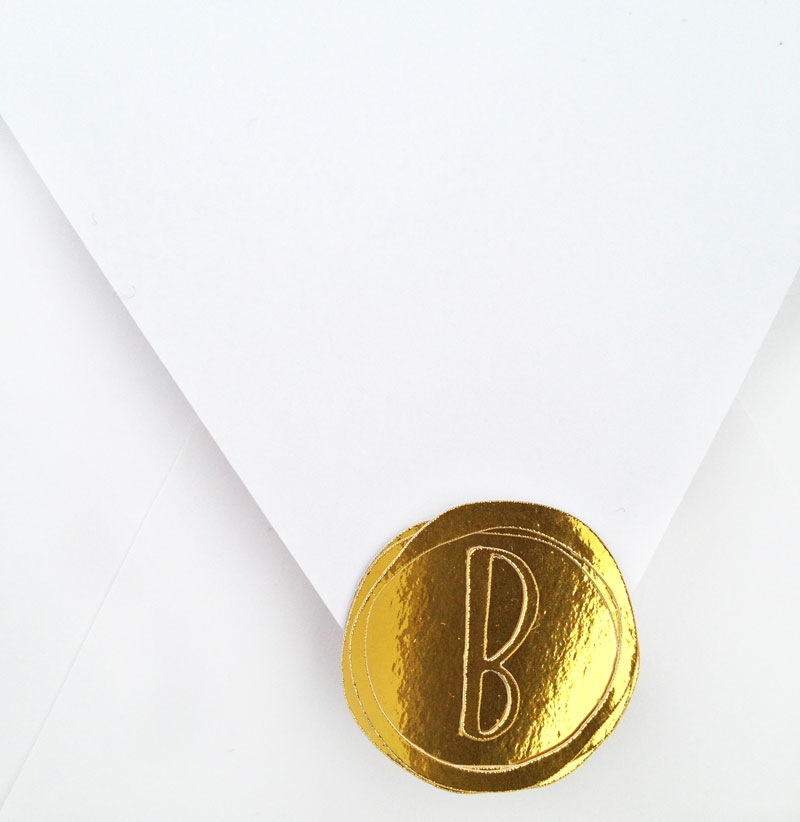
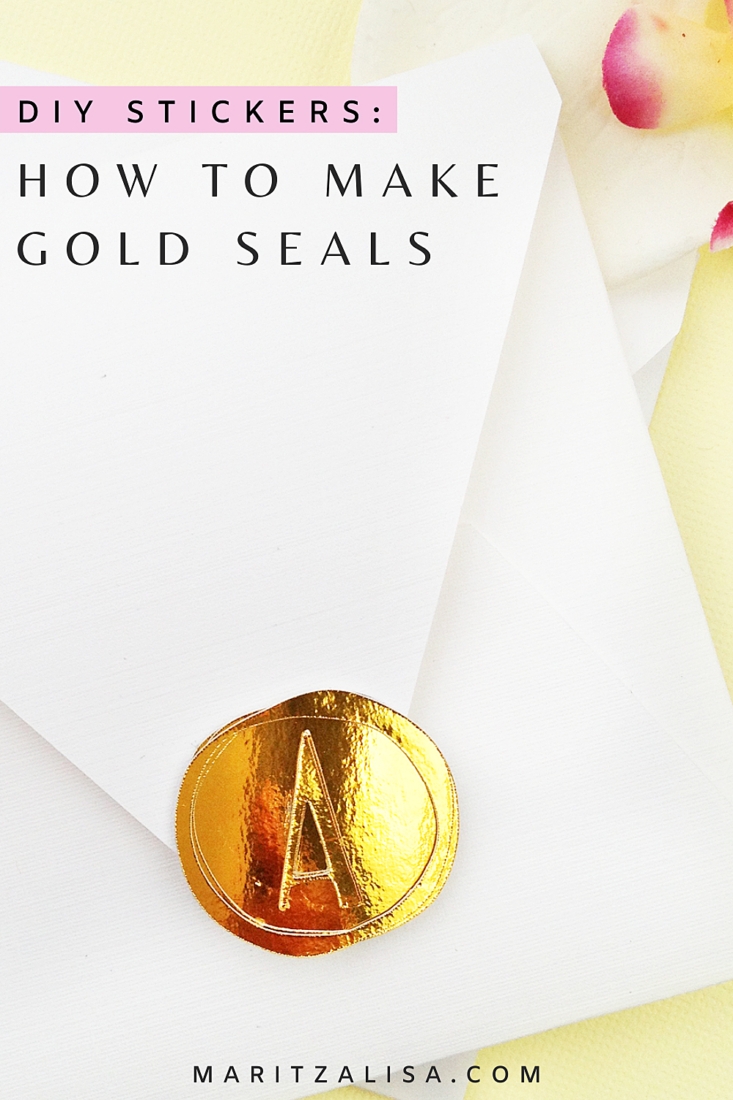
Hee – I was actually going to title this post DIY Gold Foil Faux Wax Seals. Try saying that 3 times quickly. These are the silly things that make me giggle. Alas. Oh right – today’s DIY. So, DIY Gold Faux Wax Seals it is. Adding a little twist to an old favorite. I’m using gold foil and updated fonts on my Faux Wax Seals. The method is the same, just a different medium. A while back I bought non-adhesive gold foil and have been itching to use it for some time now. So here we are. I love the look of gold on white – it’s a simple and timeless combination that will always be on trend.
The What
- Silhouette cutting machine
- Silhouette Studio
- Cutting Mat
- Gold foil cardstock (I got mine at Michaels, but you can get some here too. Oooh and it’s on sale now with free shipping)
- Glue
The How
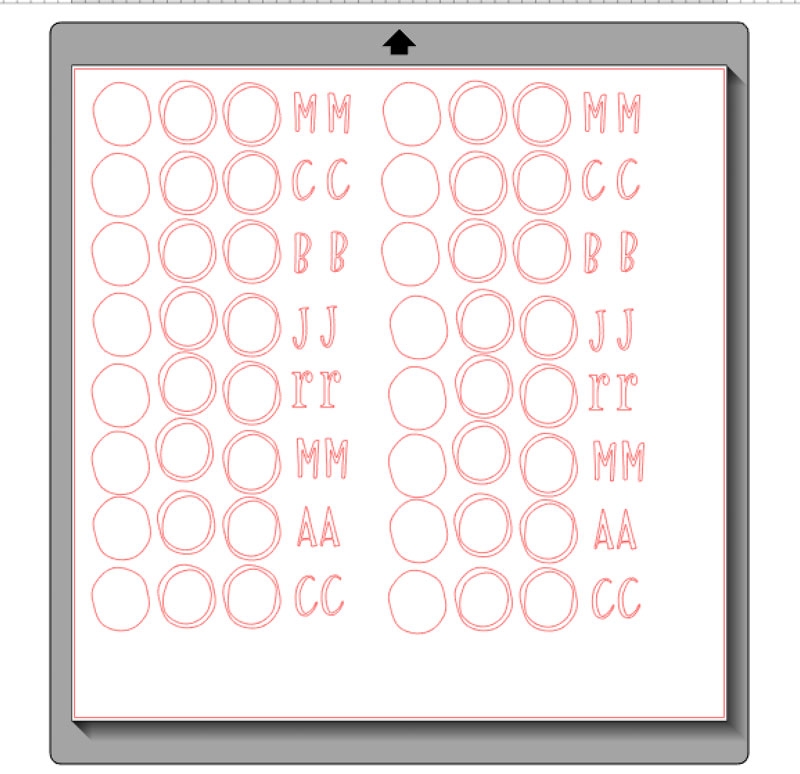
- Using Silhouette Studio, create an oval shape
- Double-click your oval to edit the points and reshape
- Create an internal offset and rotate to create the shape of your “melted wax”
- Select/ create a shape or letter for the middle of your seal. This will be what you are “stamping”. Then make a copy of your outer “melted wax” shape your created in Step 3
- Load your gold foil cardstock and cut your shapes. For the settings, I set my blade to 5 and selected “double cut” and cardstock
- Use your glue to layer your paper pieces to create your seal
Note: The fonts I used for this post were Turner and Pharmacy (that lowercase r makes me swoon. And it’s free too!)
Now that you have your gorgeous gold faux wax seals, what will you use them for?

Looking for some more inspiration? Take a look at my other Silhouette projects.
3 Comments on Gifting: DIY Gold Faux Wax Seals
Comments are closed.
project
Thanks, Theresa – xoxoxoxo
Yet another great ptoject!!!