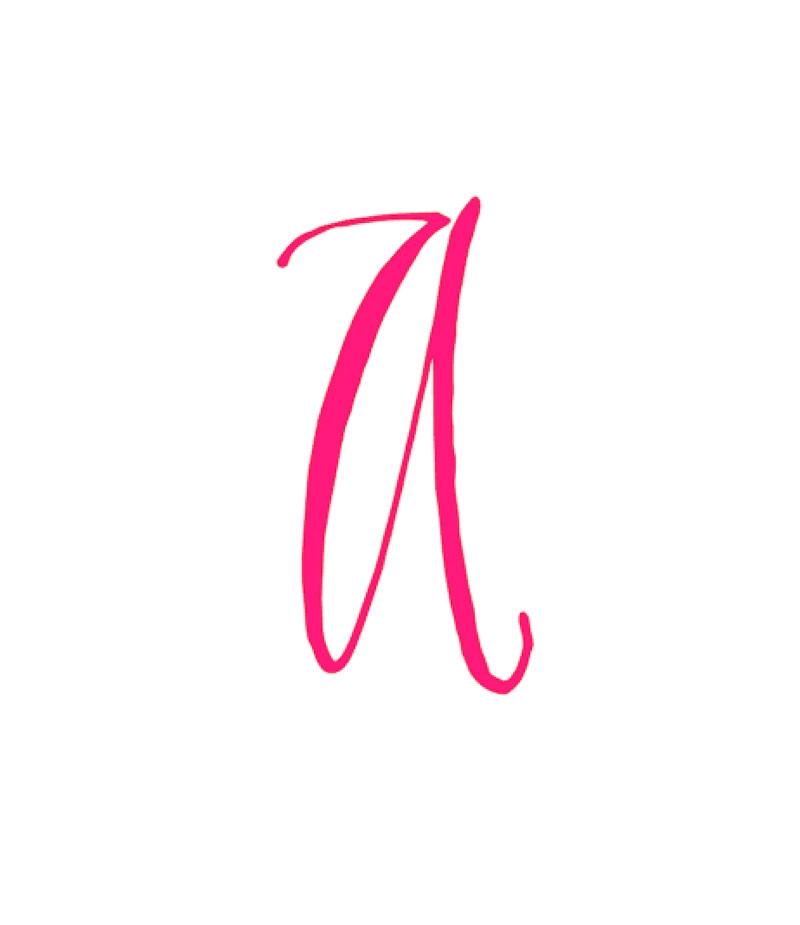
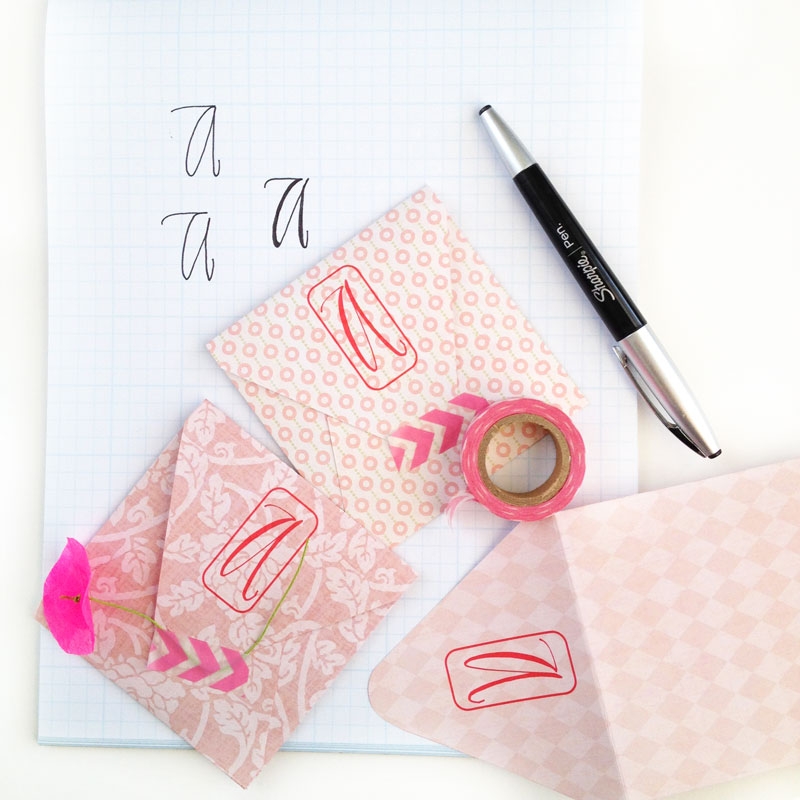
Happy 2015!! As I look back on 2014, I realize that I did not spend nearly enough time practicing my hand lettering. This year, I want that to change. To hold myself to this promise, I will share my letters with you (they may be a little rough, let me warn you). So, today is pen to paper – lowercase A. I’ve also included the .studio3 file in case you would like to use it.
The What
- Silhouette cutting machine (I own the CAMEO)
- Silhouette Studio
- Cutting mat
- Pen (I used a Sharpie) and paper for your lettering
- Free envelope shape for download from my Layering Liners post
- Cardstock or patterned paper (I got mine at Michaels)
- Camera or scanner
The How
1. I went with the faux approach using my trusty Sharpie (black ink) and a gridded page
2. Then I took a picture with my iPhone and sent it to my computer
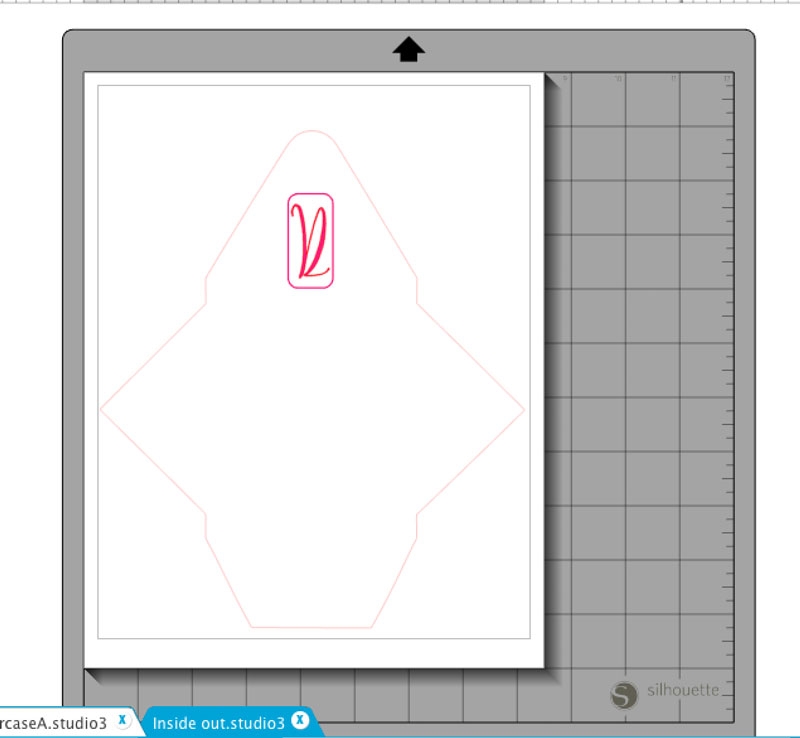
3. I opened the image in Silhouette Studio, and traced it
4. I filled the trace shape with color and added a border (rounded rectangle) around it
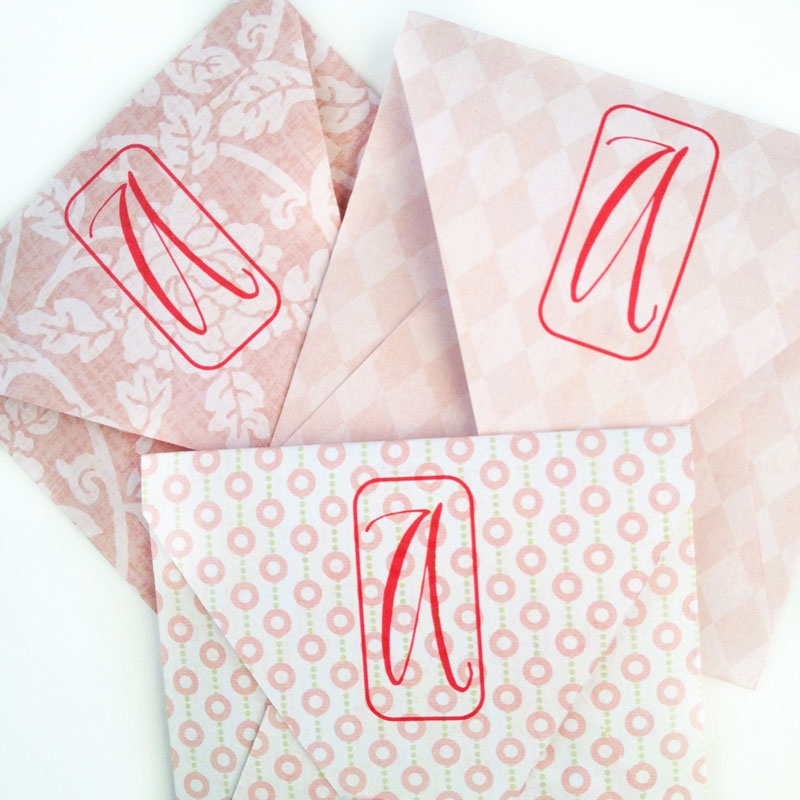
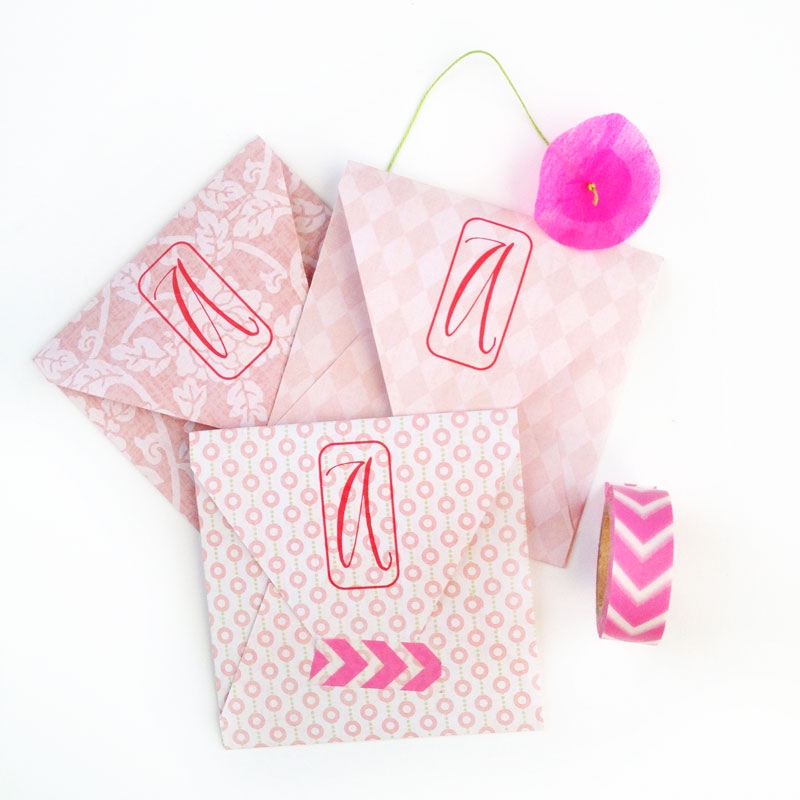
5. After grouping and rotating it by 180 degrees (set to No Cut), I merged my envelope shape into my document. I placed the monogram onto the envelope, then sent to Print and Cut using cardstock or copy paper settings
And there you go! Now you can use your own hand lettering to customize your stationery! If you would like to use mine, scroll down to the bottom of this post to download
To download my lowercase A, click below for the studio 3 file
4 Comments on Pen to Paper – Lowercase A
Comments are closed.




Hi Maritza, thanks for sharing such a great idea. I,ve really enjoyed seeing all your pretty flowers, address stickers and now hand written alphas. Thank you I look forward to trying this 🙂
Yay! Thanks, Sue!! 🙂
You are so creative, Maritza! I love the stationery with the custom letter and washi. Gorgeous!!
Thanks so much, Lindsey! Means so much – I ADORE your work!