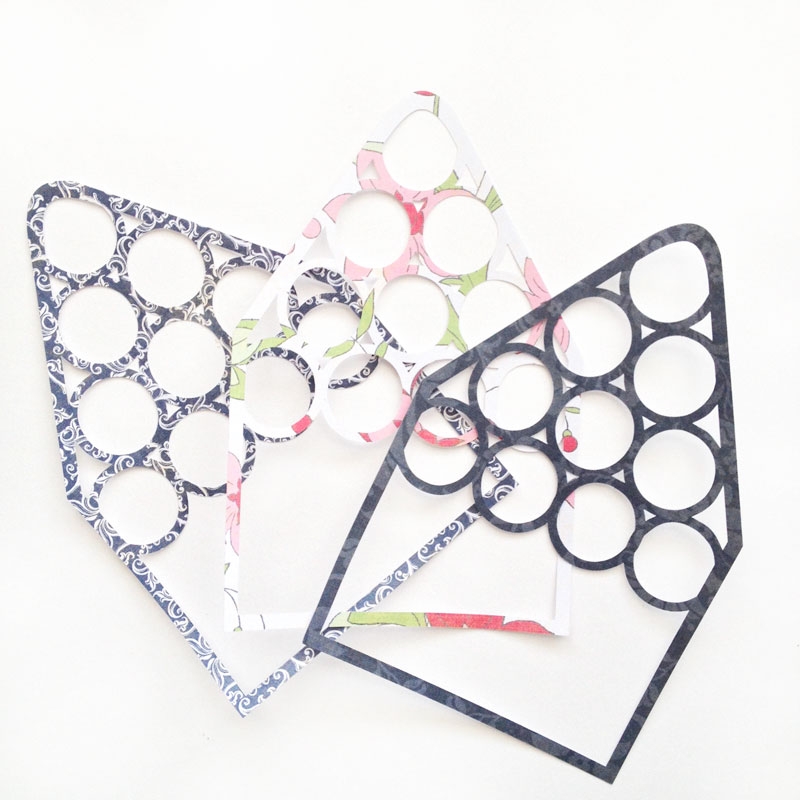
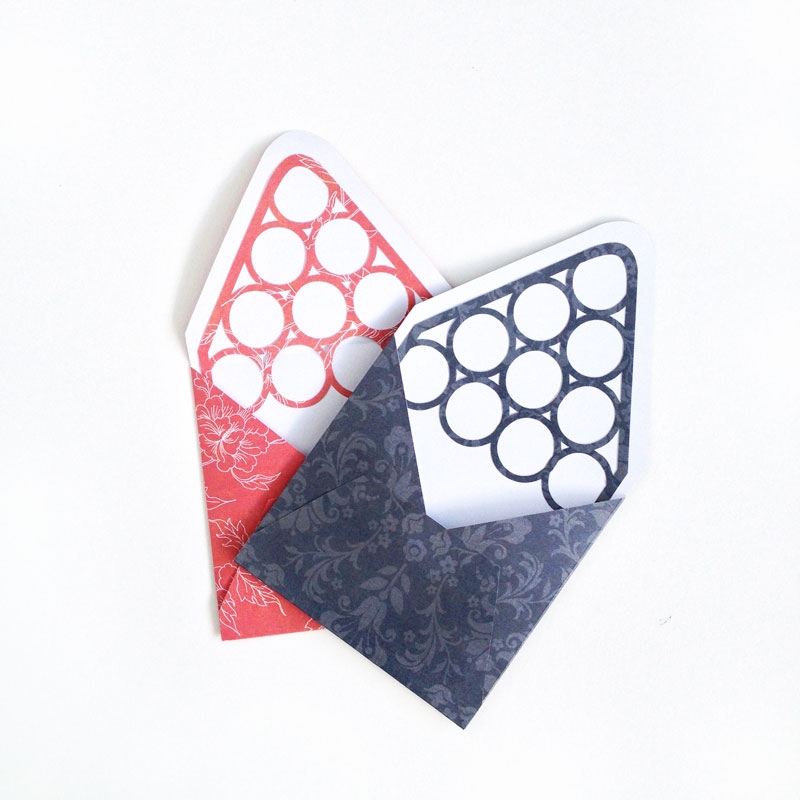
I’m sure you can tell from previous posts (like this one, and maybe this one?) that I like to add a little twist to lining envelopes. I’m still working on actually filling them and sending them off to my loved ones (cough, cough). Soooooo… I wanted to share how to create a lattice in Silhouette, and naturally the first thing that popped up was …yepper….envelopes!
The What
[row] [span columns=”5″] [/span] [span columns=”5″] [/span] [/row]The How
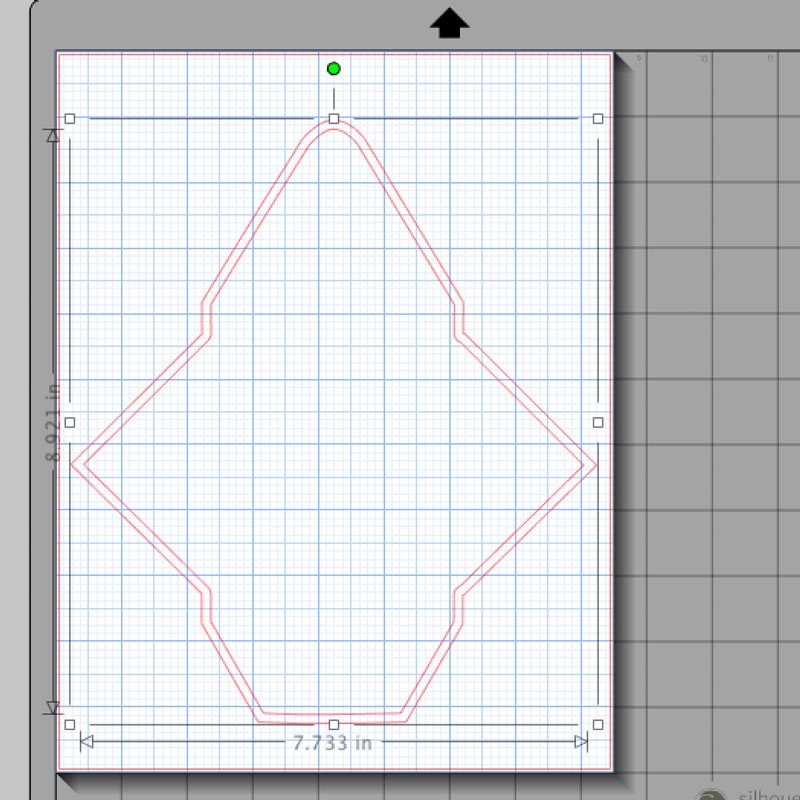
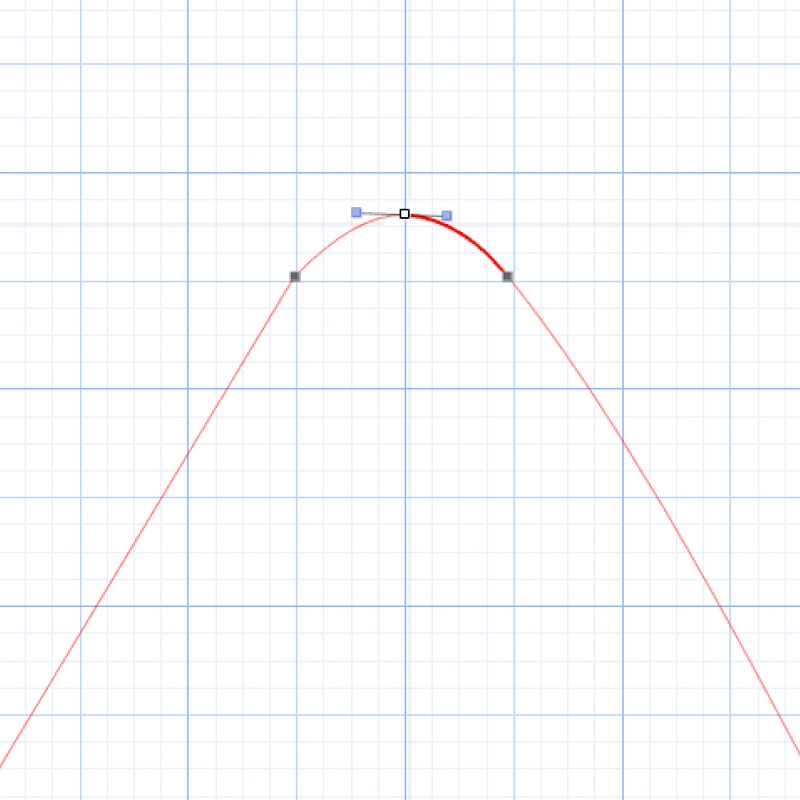
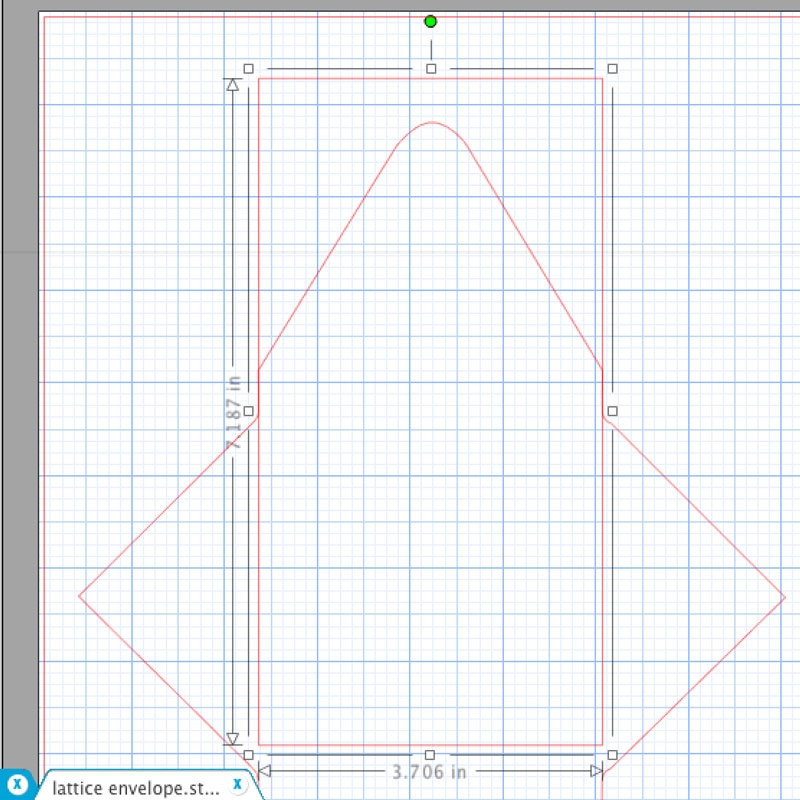
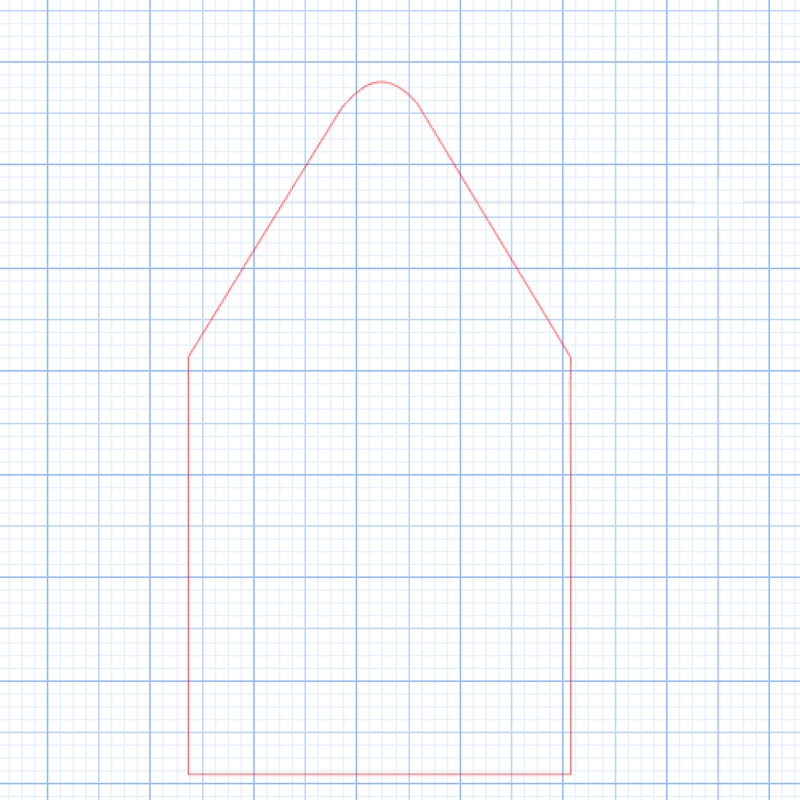
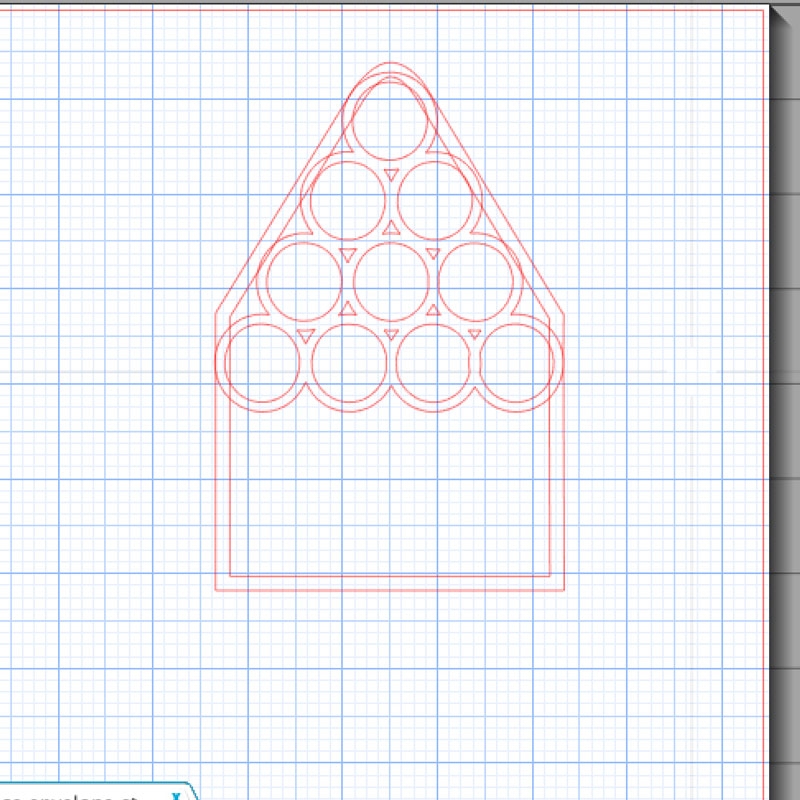
Step 1: I used a copy of this envelope shape in a new Studio document, and re-sized it so that a flat 4×4 in card can fit. I then rounded of the top using the Point Editing tool
Step 2: The liner’s outline was created with an internal offset of the envelope, and then cropping with the rectangle tool
Step 3: For the lattice, I started with a circle and its offset. I selected both to make a Compound Path, then created a triangular shape using my liner as guide. Each circle had to slightly overlap so that I can eventually weld together and create the lattice
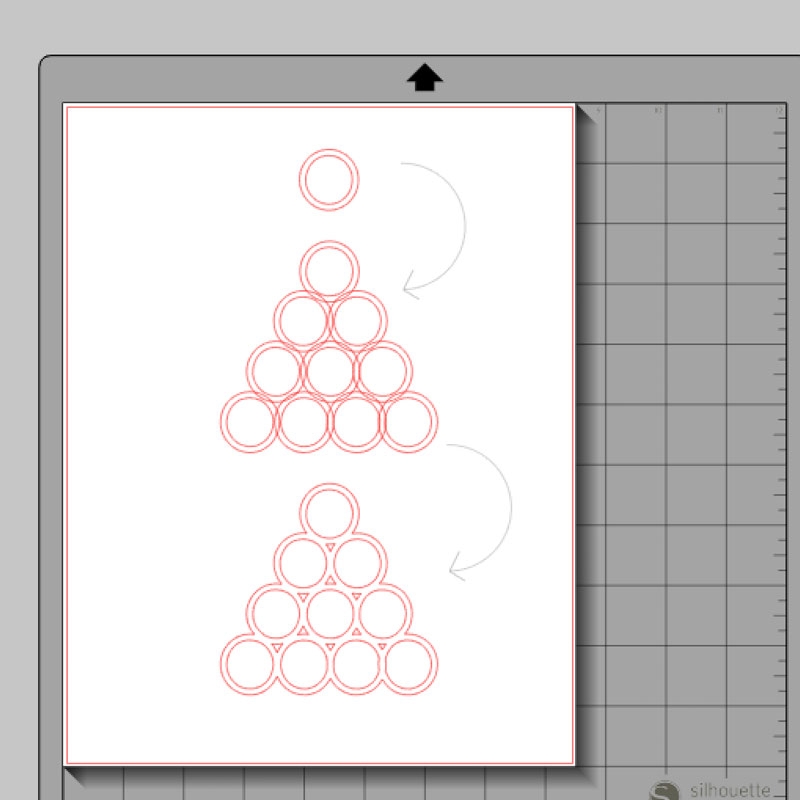
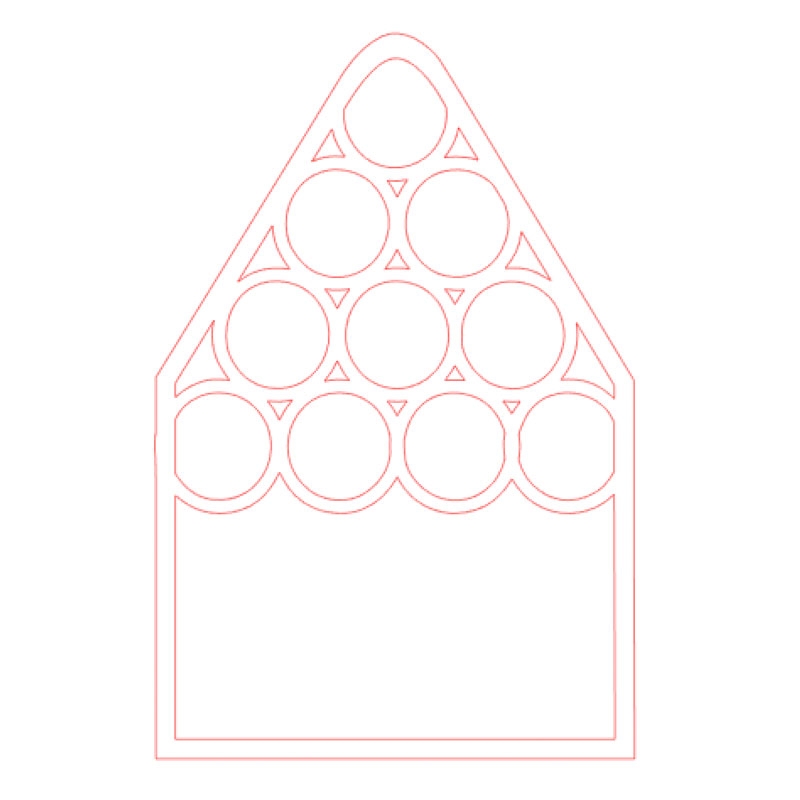
Step 4: The liner’s outline I created in Step 2 was then treated to an internal offset, and both shapes were selected, then made into a compound path. The trick here is that to weld shapes successfully, they must be compound paths. Now I have a frame and a lattice. I lined them up and welded them together to create the shapes below
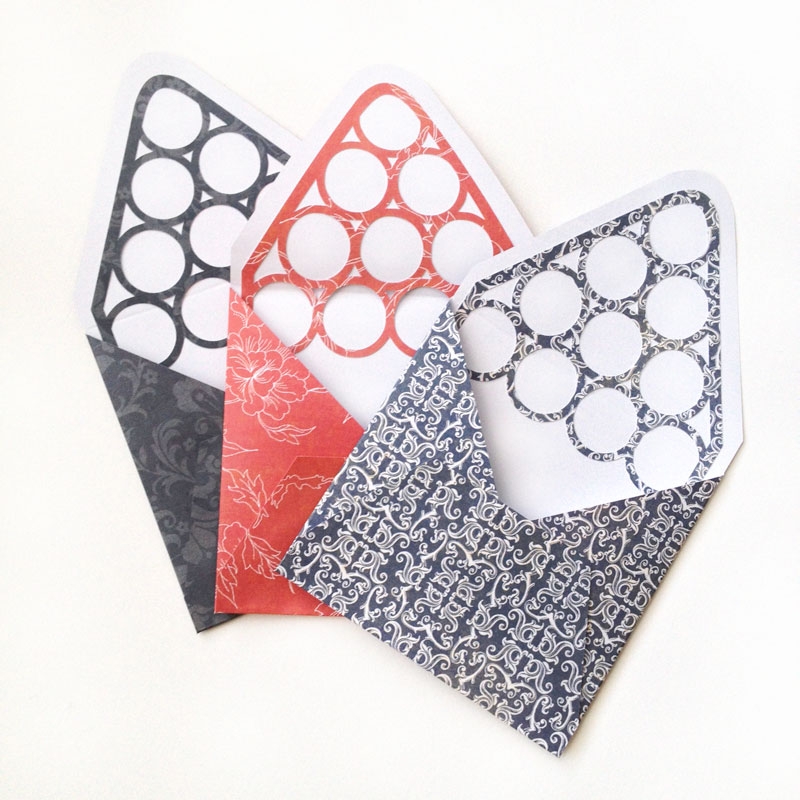
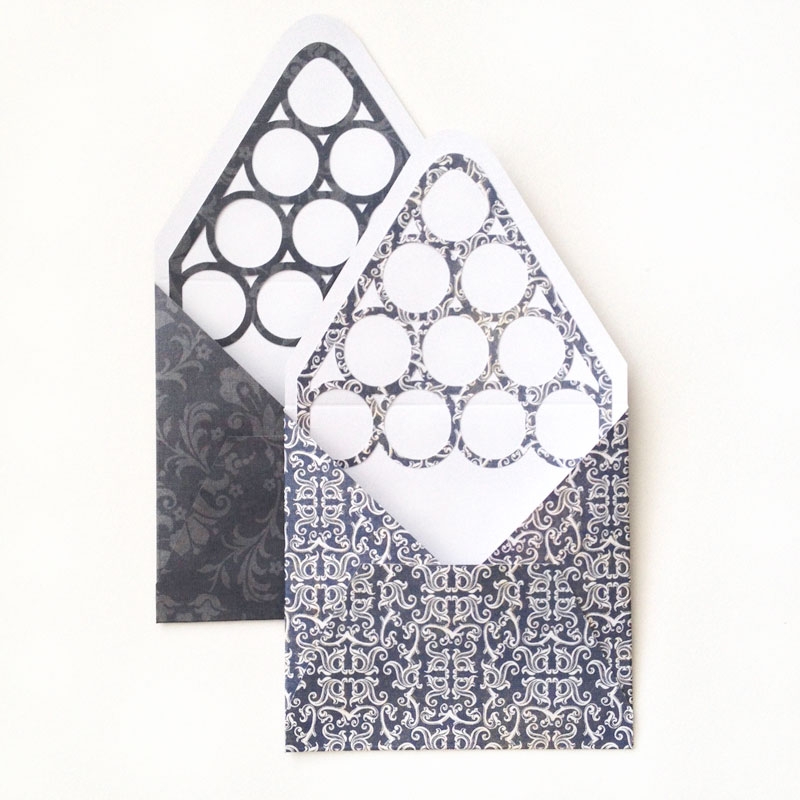
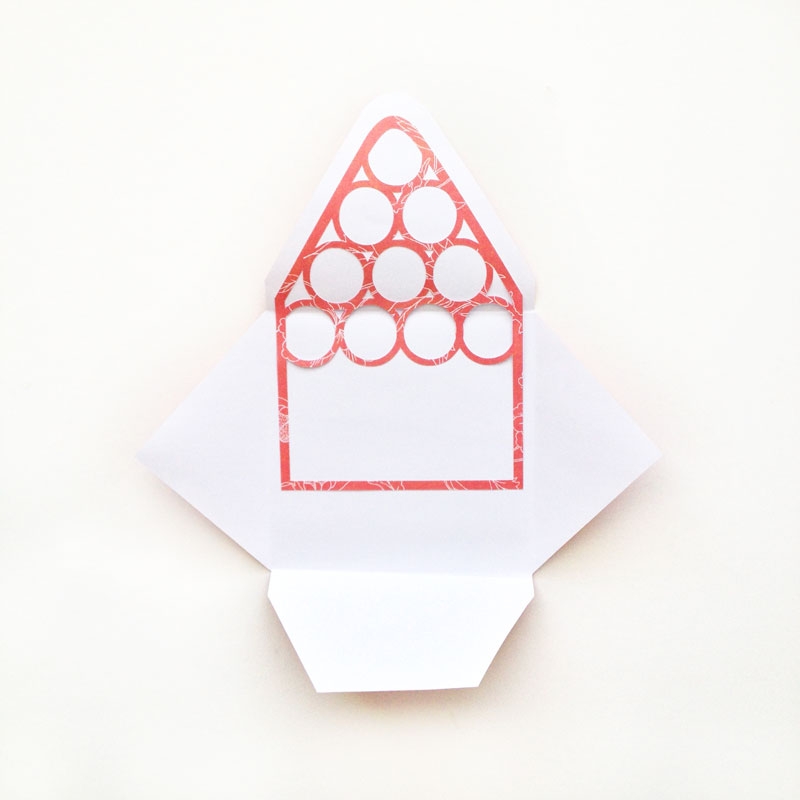
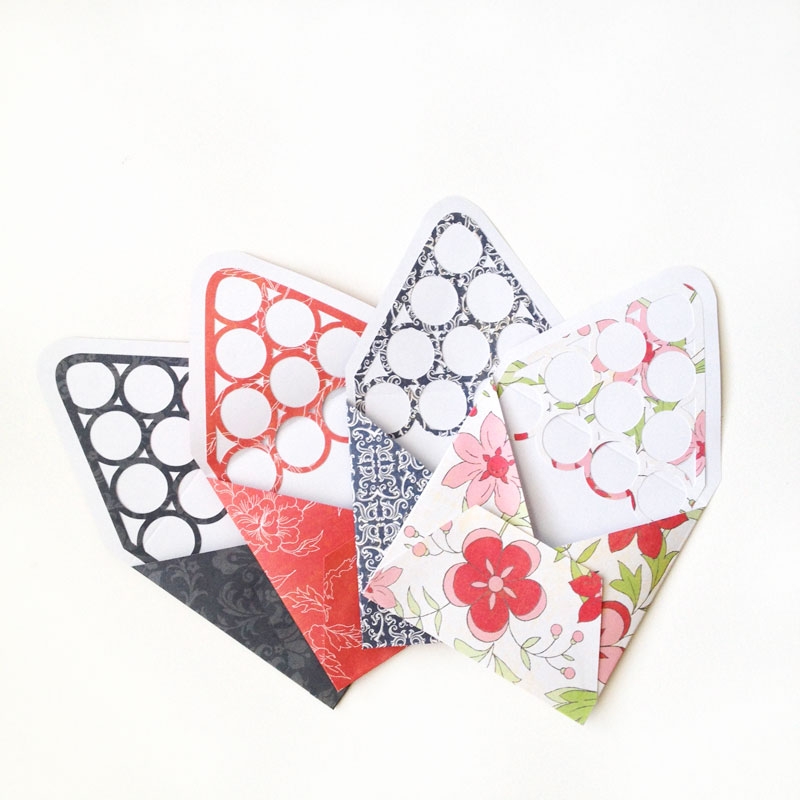
Step 5: I used patterned paper, so my cut settings were set to Copy Paper. Once the envelope and lattice were cut, I glued and assembled
Now all I need to do is create some cards to match, then send off some happy mail!
4 Comments on Stationery – Lattice Envelope Liners
Comments are closed.
You are crazy talented! I’ve never posted a comment but I am a huge fan of yours!
You just made my day – thank you so much, Bonnie!
I am a big fan of envelopes and these liners are oh so cute. I can’t remember how I found your blog, but I am so glad that I did. You do amazing things with your silhouette. Thanks for all the info and tutorials you offer!
Thanks, Torrie. You just made my day!