
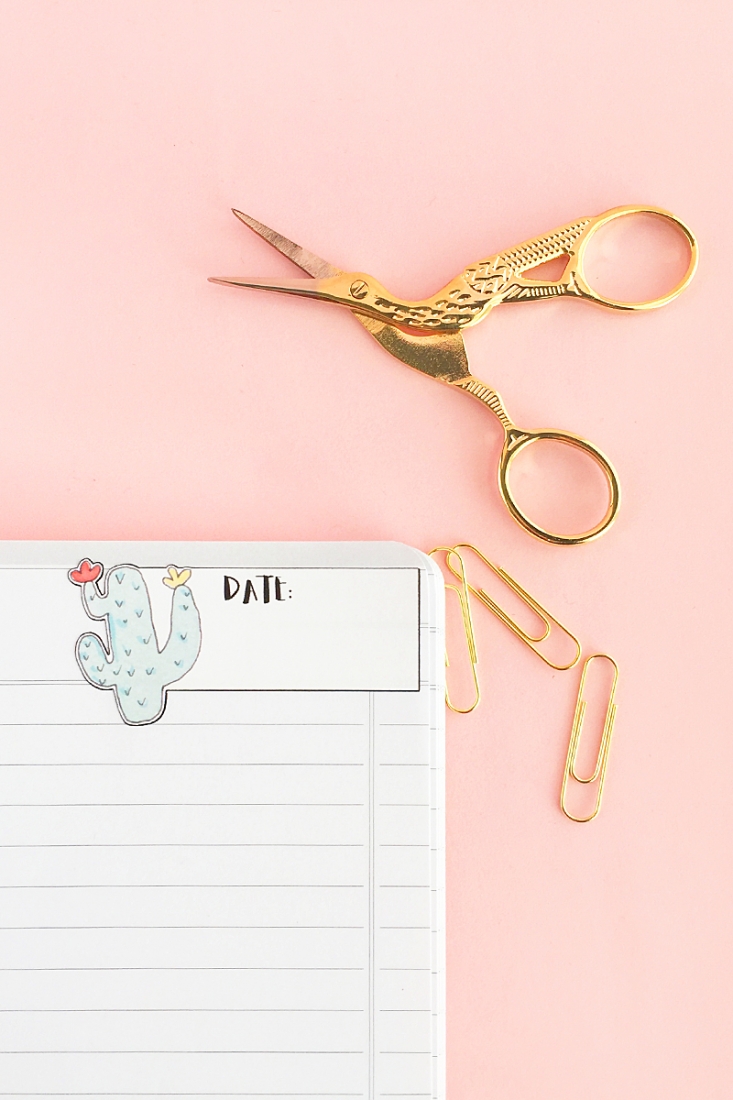
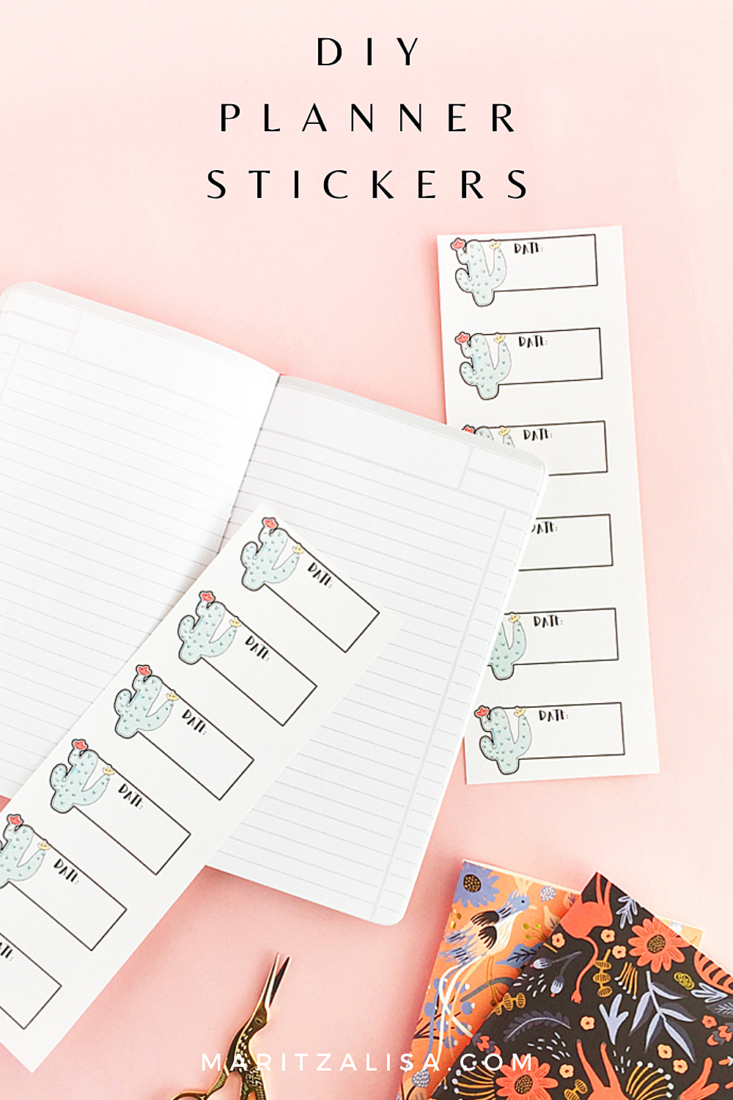
Are you into planners? If you are and like to decorate them with your own personal touch, these DIY Cactus Planner Stickers will be perfect for you. The ones I made were for dates, but you can make your own shape and add your own custom text. Read on to see how you can make your own!
The What
- Silhouette Studio (there is a free version!)
- Silhouette cutting machine
- Cutting mat
- Printable sticker paper
- Printer
- Cactus clip art or image. I got mine at Creative Market
The How
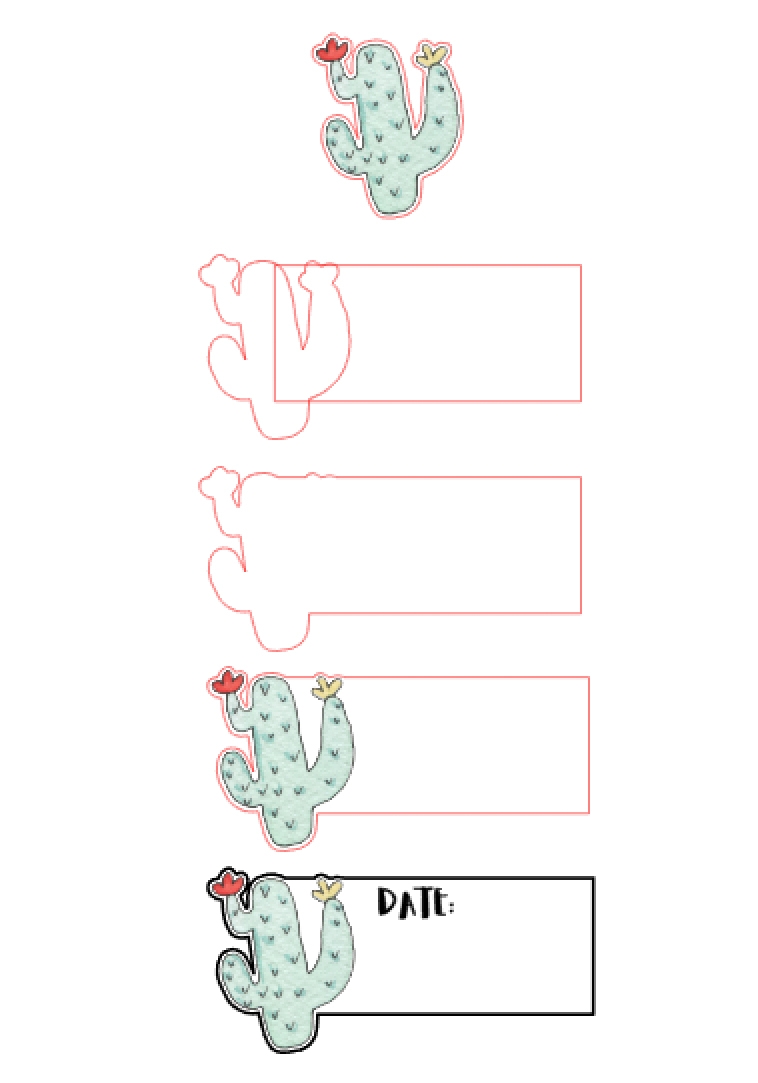
- In Silhouette Studio, open your cactus image
- Use the trace and crop tools to create cut lines around your flower images. Set these to No Cut
- Use the offset tool to create some white space between your image (optional) and the cut line
- Weld the offset shape and a rectangle (create this so that it will fit at the top of your planner page)
- Optional: change the color and thickness of the outline to black
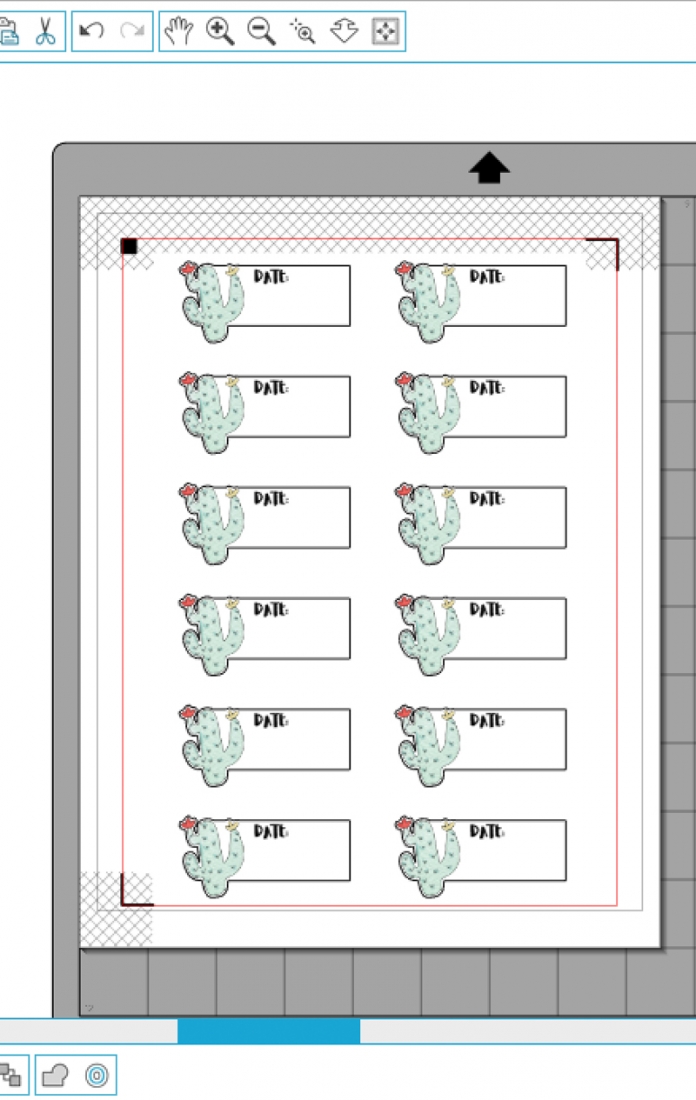
- Group everything together and make as many copies as you need
- Show the registration marks
- Print and cut your leaves using sticker paper settings
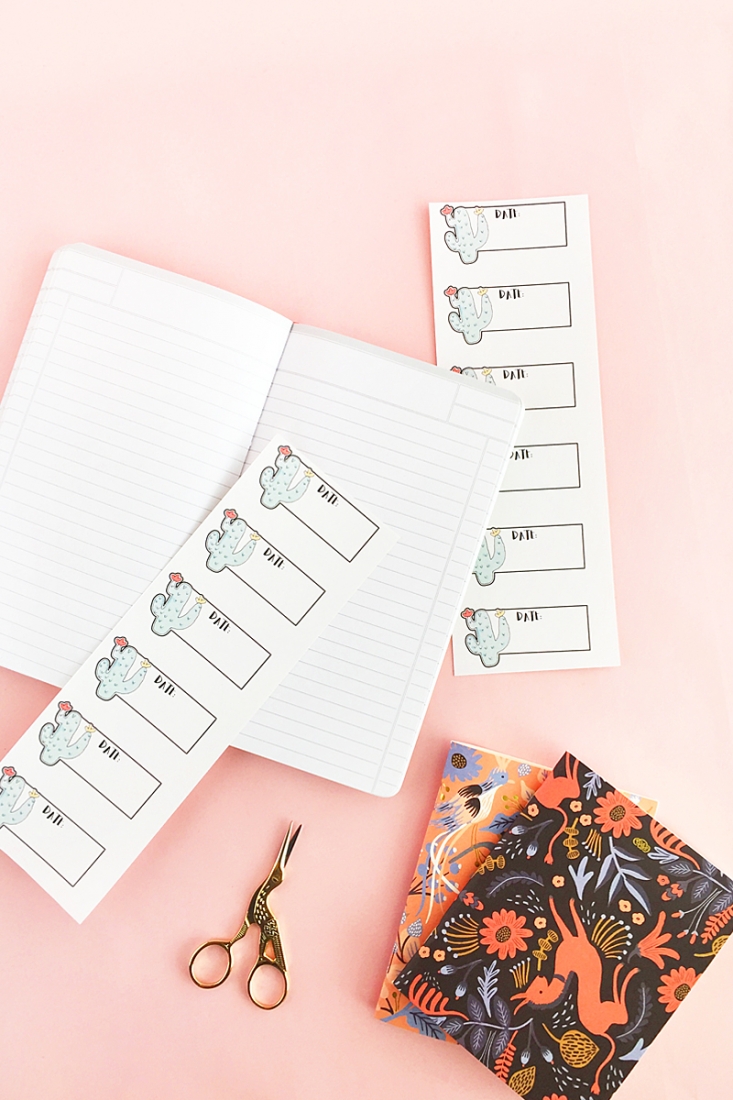
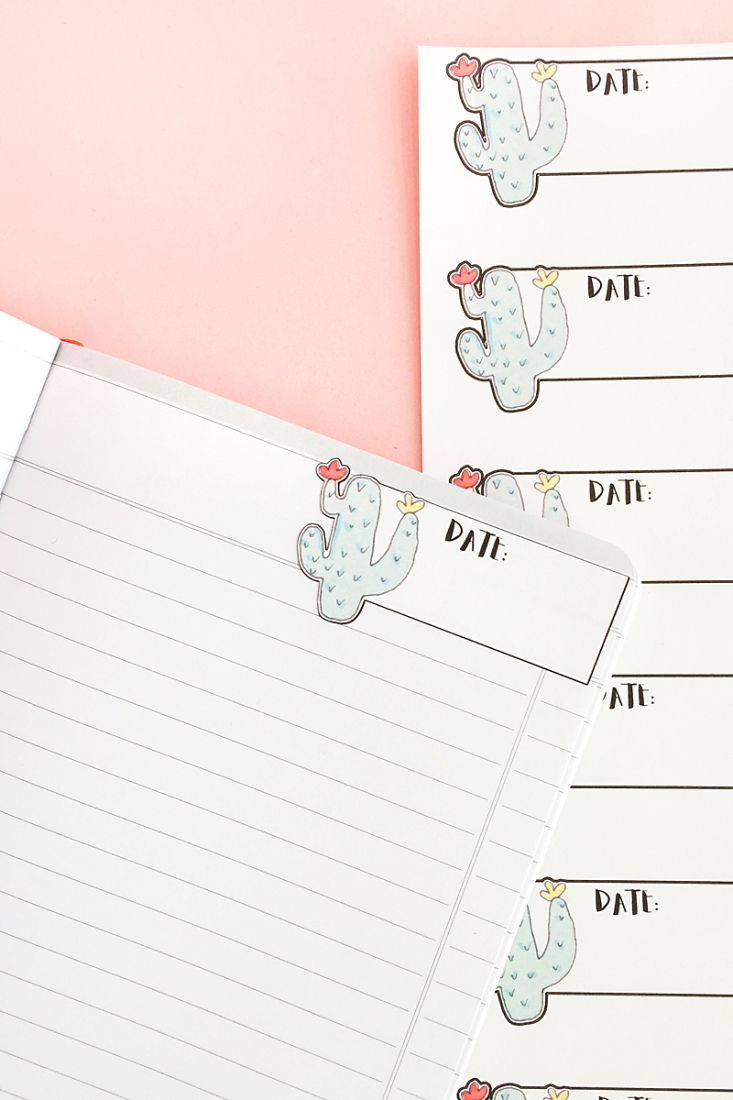
Cute, right? Now that you know how to make your own planner stickers, what other stickers will you make for your journals?
Looking for some more inspiration? Take a look at my other Silhouette projects.
2 Comments on DIY Cactus Planner Stickers
Comments are closed.
Yay now I will never forget what day or time I need to do my special events or important meeting …thanks for your help and time
Wonderful, Marylouise. So happy you like them!