Hello and Happy Monday! I saw a few scattered flurries outside (um… Brrr!) which is totally in line with today’s tutorial. I’d like to show you how you can design your own snowflake in Silhouette Studio. Perfect timing for all those letters and packages that need cute gift toppers, non? Basically, it’s a series of steps using the Line and Ellipse tools. You don’t have to follow my exact directions, creativity is on your side. Let’s do this!
The What
- Silhouette cutting machine
- Silhouette Studio
- Cardstock or whatever medium you plan to cut your shape with
The How
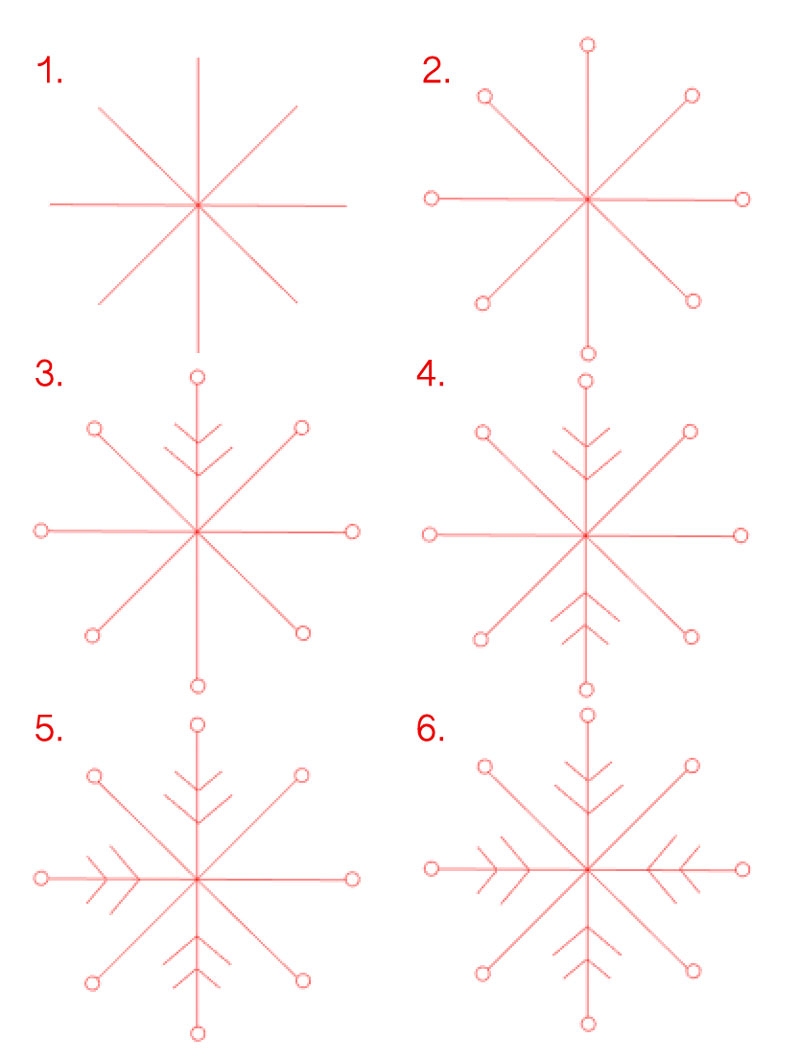
1. In Silhouette Studio, create a new document and use the Line and Ellipse tools as shown below. Use the Replicate window to save time (tip: holding the Shift key down while you draw your lines will make them perfectly straight. You can do the same for perfect circles too)
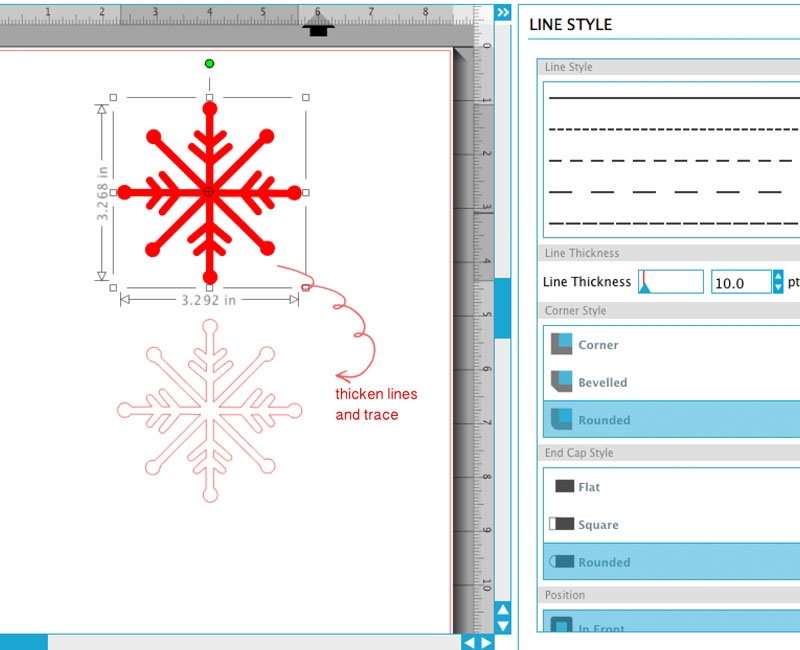
2. Group everything together. Now, thicken your lines with the Line Style tool. Finally, trace the shape, and cut
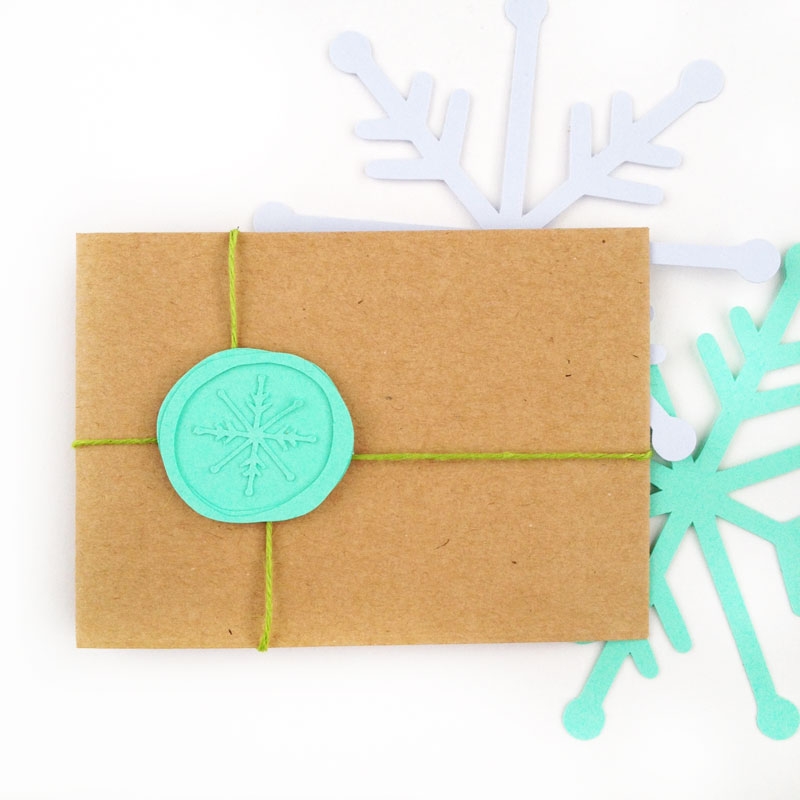
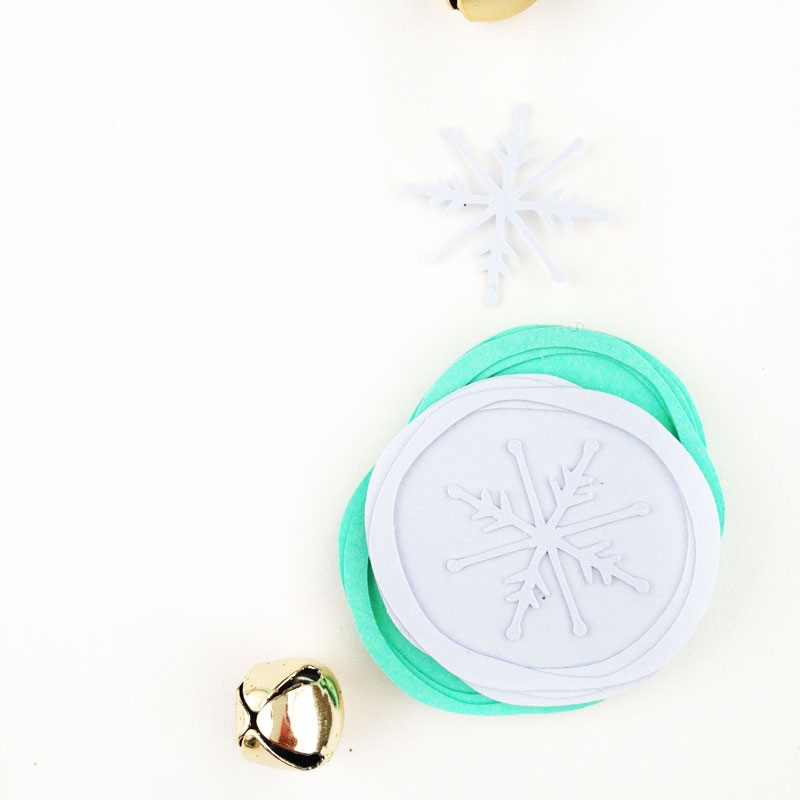
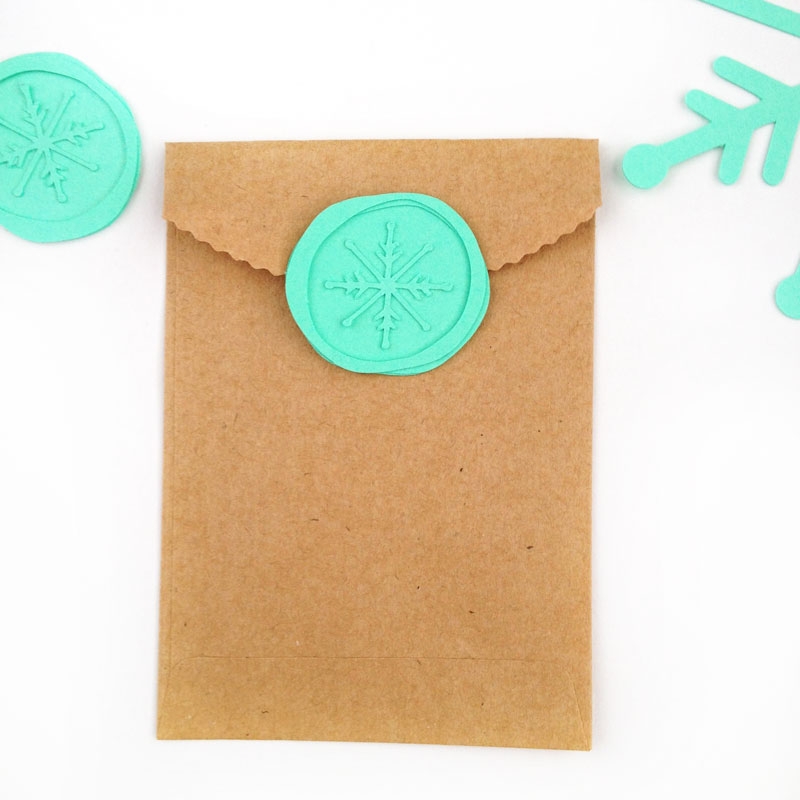
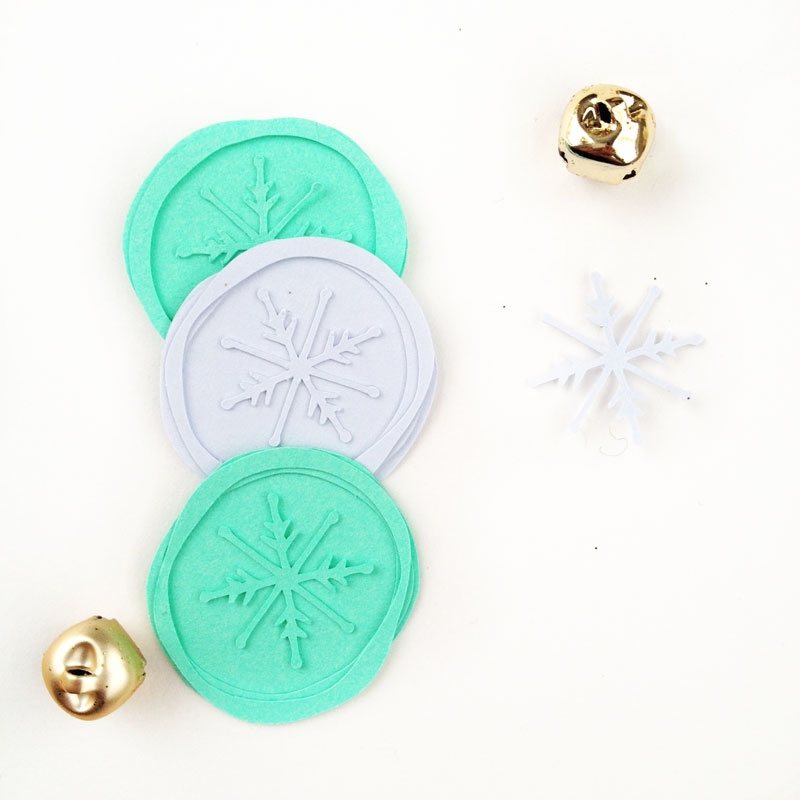
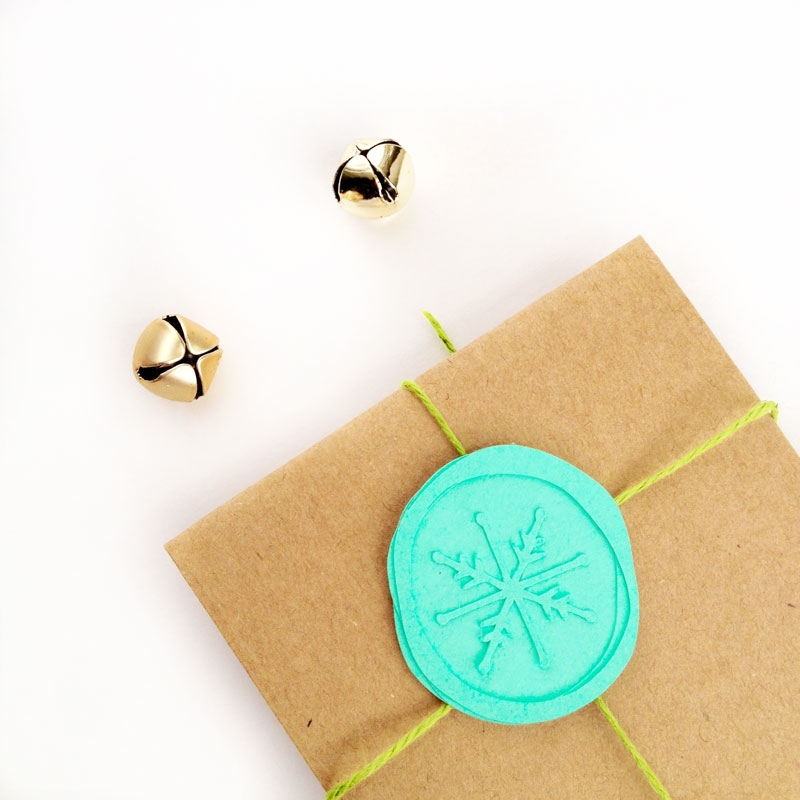
And you’re done! I used my snowflakes to create festive faux wax seals. How will you use your newly designed snowflakes? Also – a reminder that today is the last of the Cyber Deals at Silhouette America – Happy shopping!
Beautiful, thanks for sharing this fabulous idea!
Thanks, Sue!